Article
Creating Custom SF Symbols
January 6, 2025

The SF Symbols library is a great way for iOS developers to add icons to their user interfaces. It supports dynamic scaling, tinting, custom colors, animation, and includes more than 6,000 built-in symbols to cover a wide variety of use cases. It’s also the only way to add symbol images to the new Control Center widgets in iOS 18.
But what if your app needs a symbol that can’t be found in the default collection? Maybe your brand already has a set of custom icons. Let’s see how we can extend SF Symbols to get all these benefits with our own custom artwork.
Step 1: Download the SF Symbols App
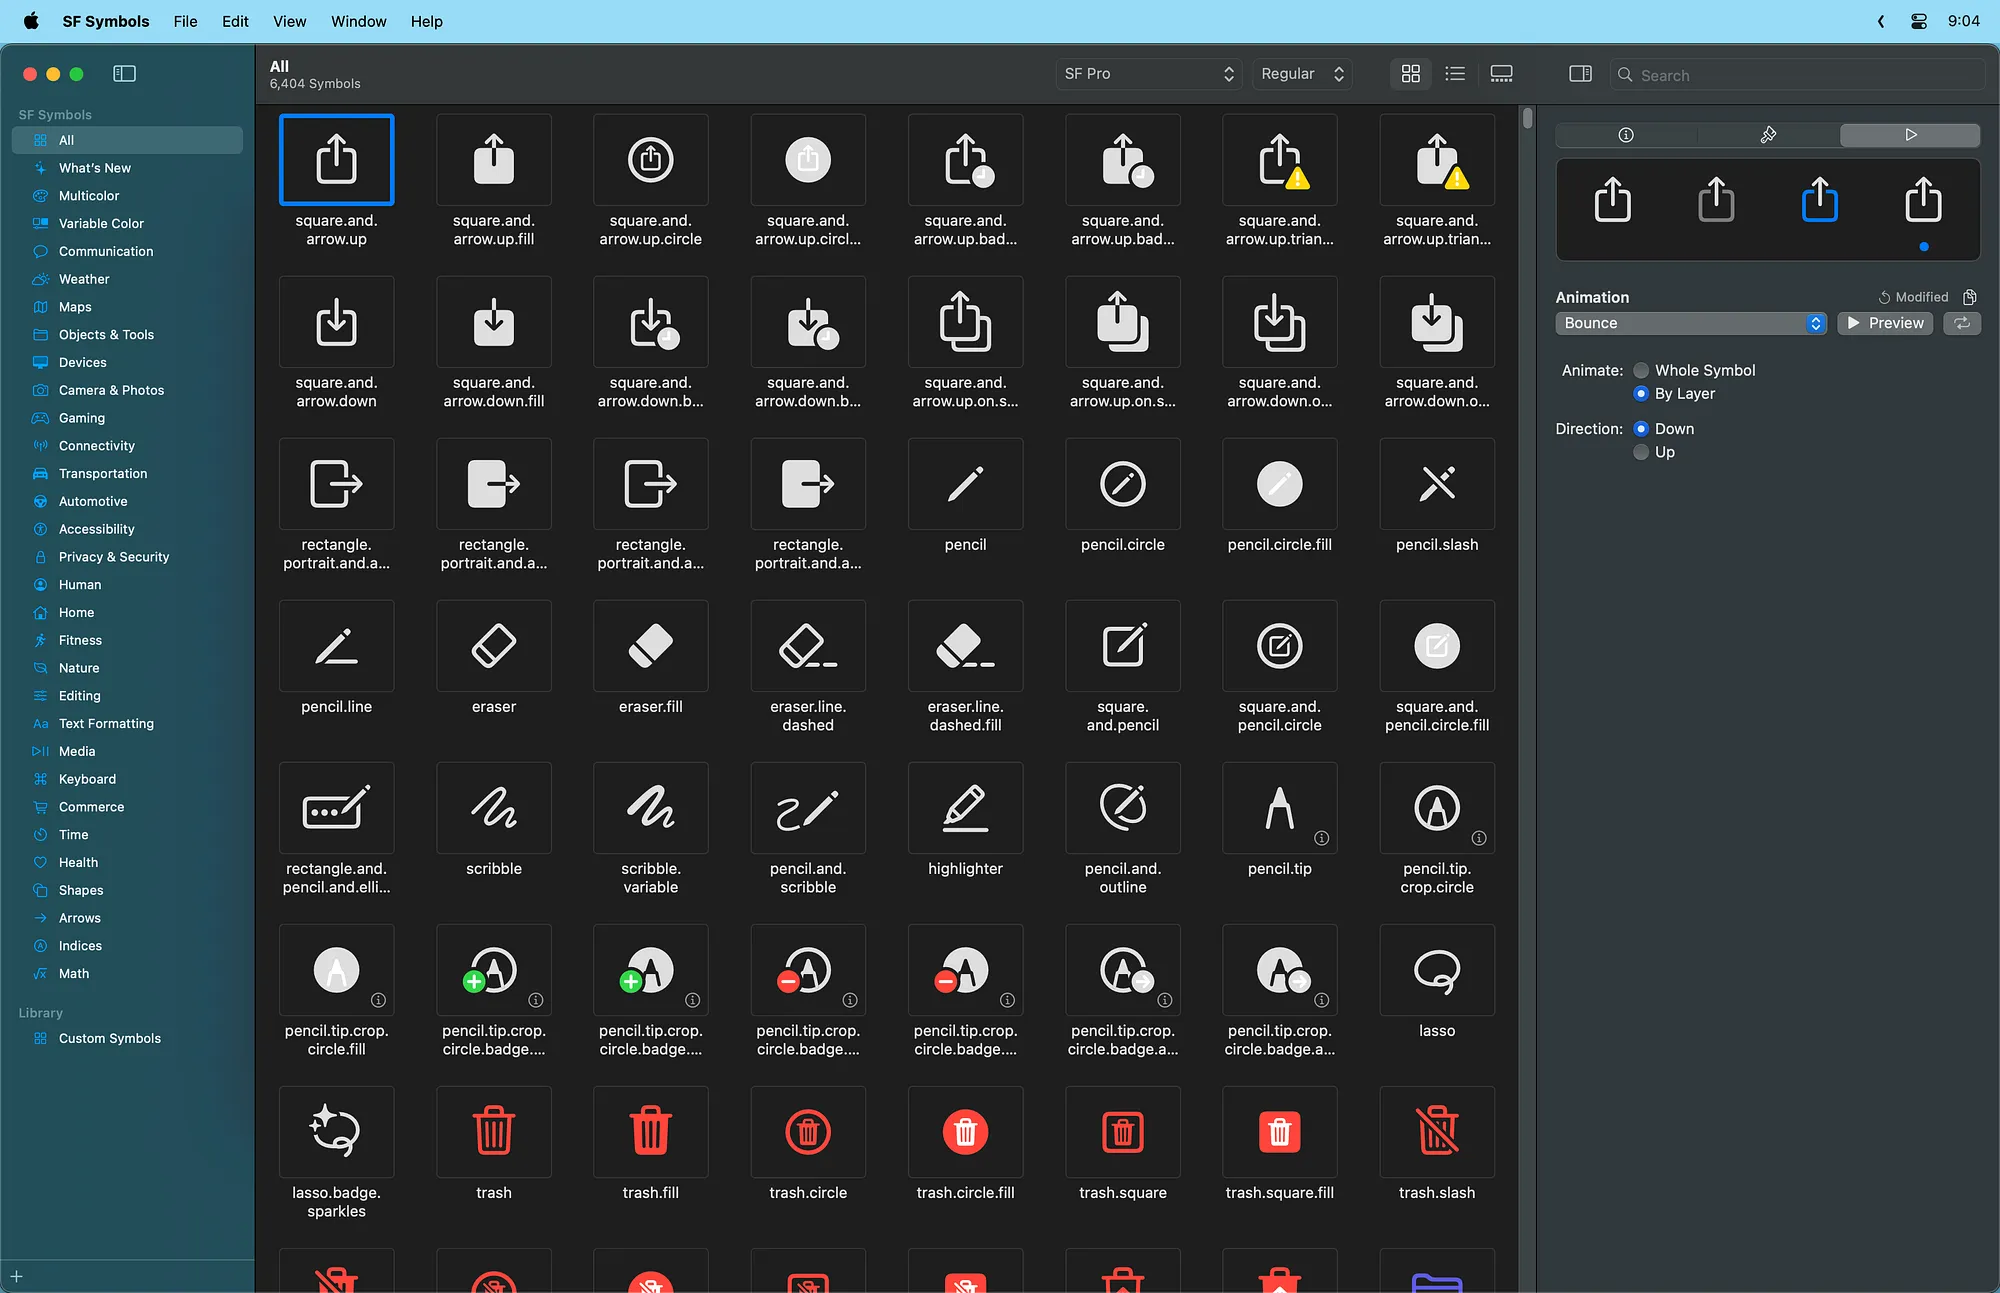
We’ll start by downloading the SF Symbols app from Apple’s developer website . This app lets you browse the complete library of built-in symbols as well as manage and configure your own collections of custom symbols.
Step 2: Export a Template
To start building a custom symbol, we need to export a template from one of the existing symbols. It sometimes helps to choose a symbol that resembles the artwork you wish to create. If you already have complete vector art, any symbol will do.
Select the symbol and choose File > Export Template from the menu bar.
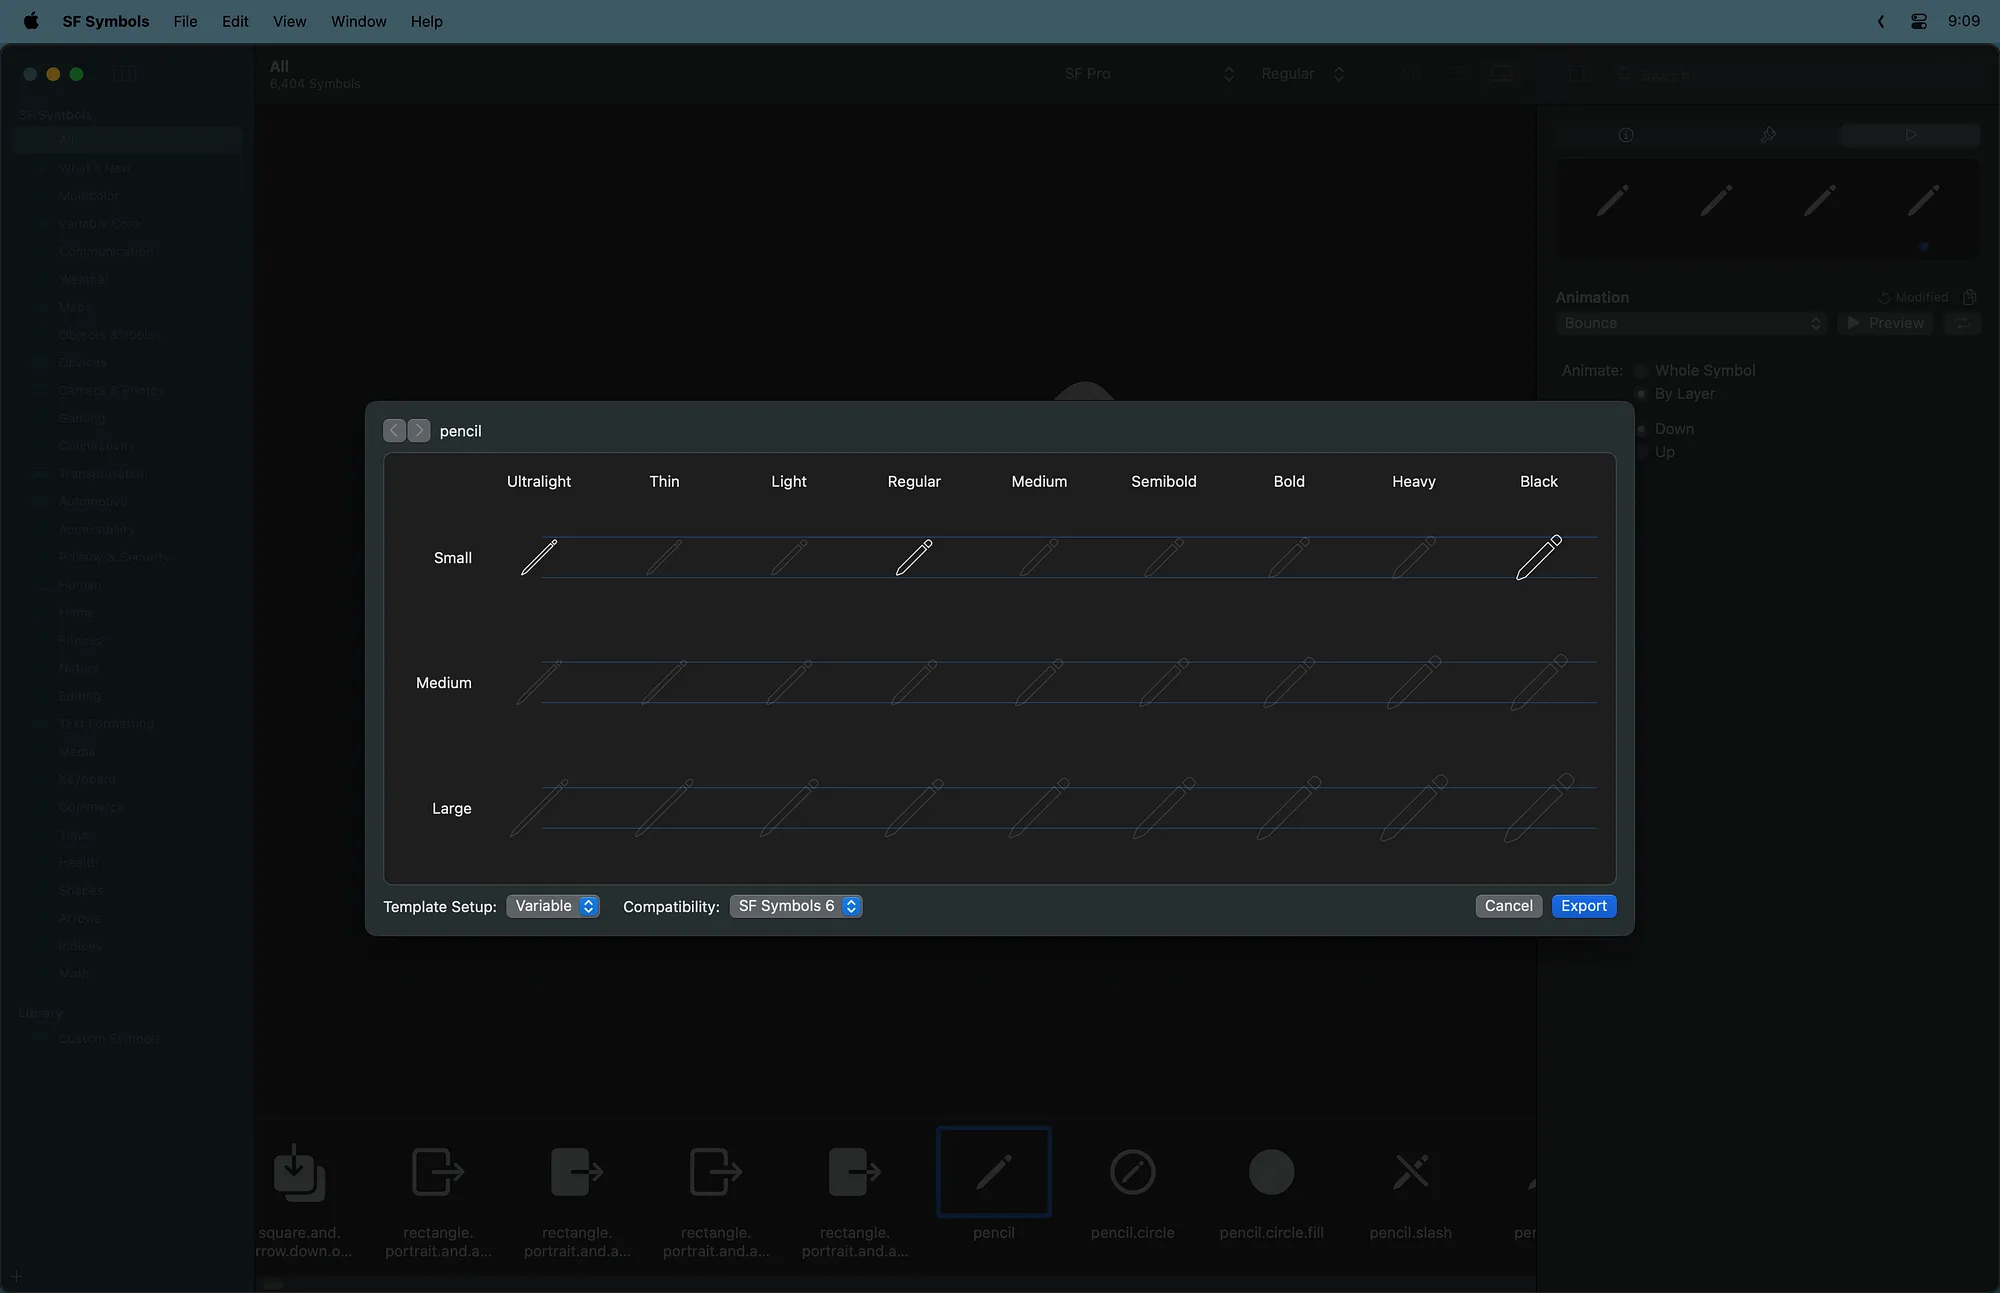
Notice three of the template symbols are highlighted. We will always design three versions of our artwork for ultralight small, regular small, and black small font weights. The system will use these three images to automatically create the remaining weights and sizes.
Step 3: Edit Your Artwork
Next, we’ll open the exported SVG file in a vector graphics editor such as Sketch or Figma. We’ll use Sketch in this tutorial.
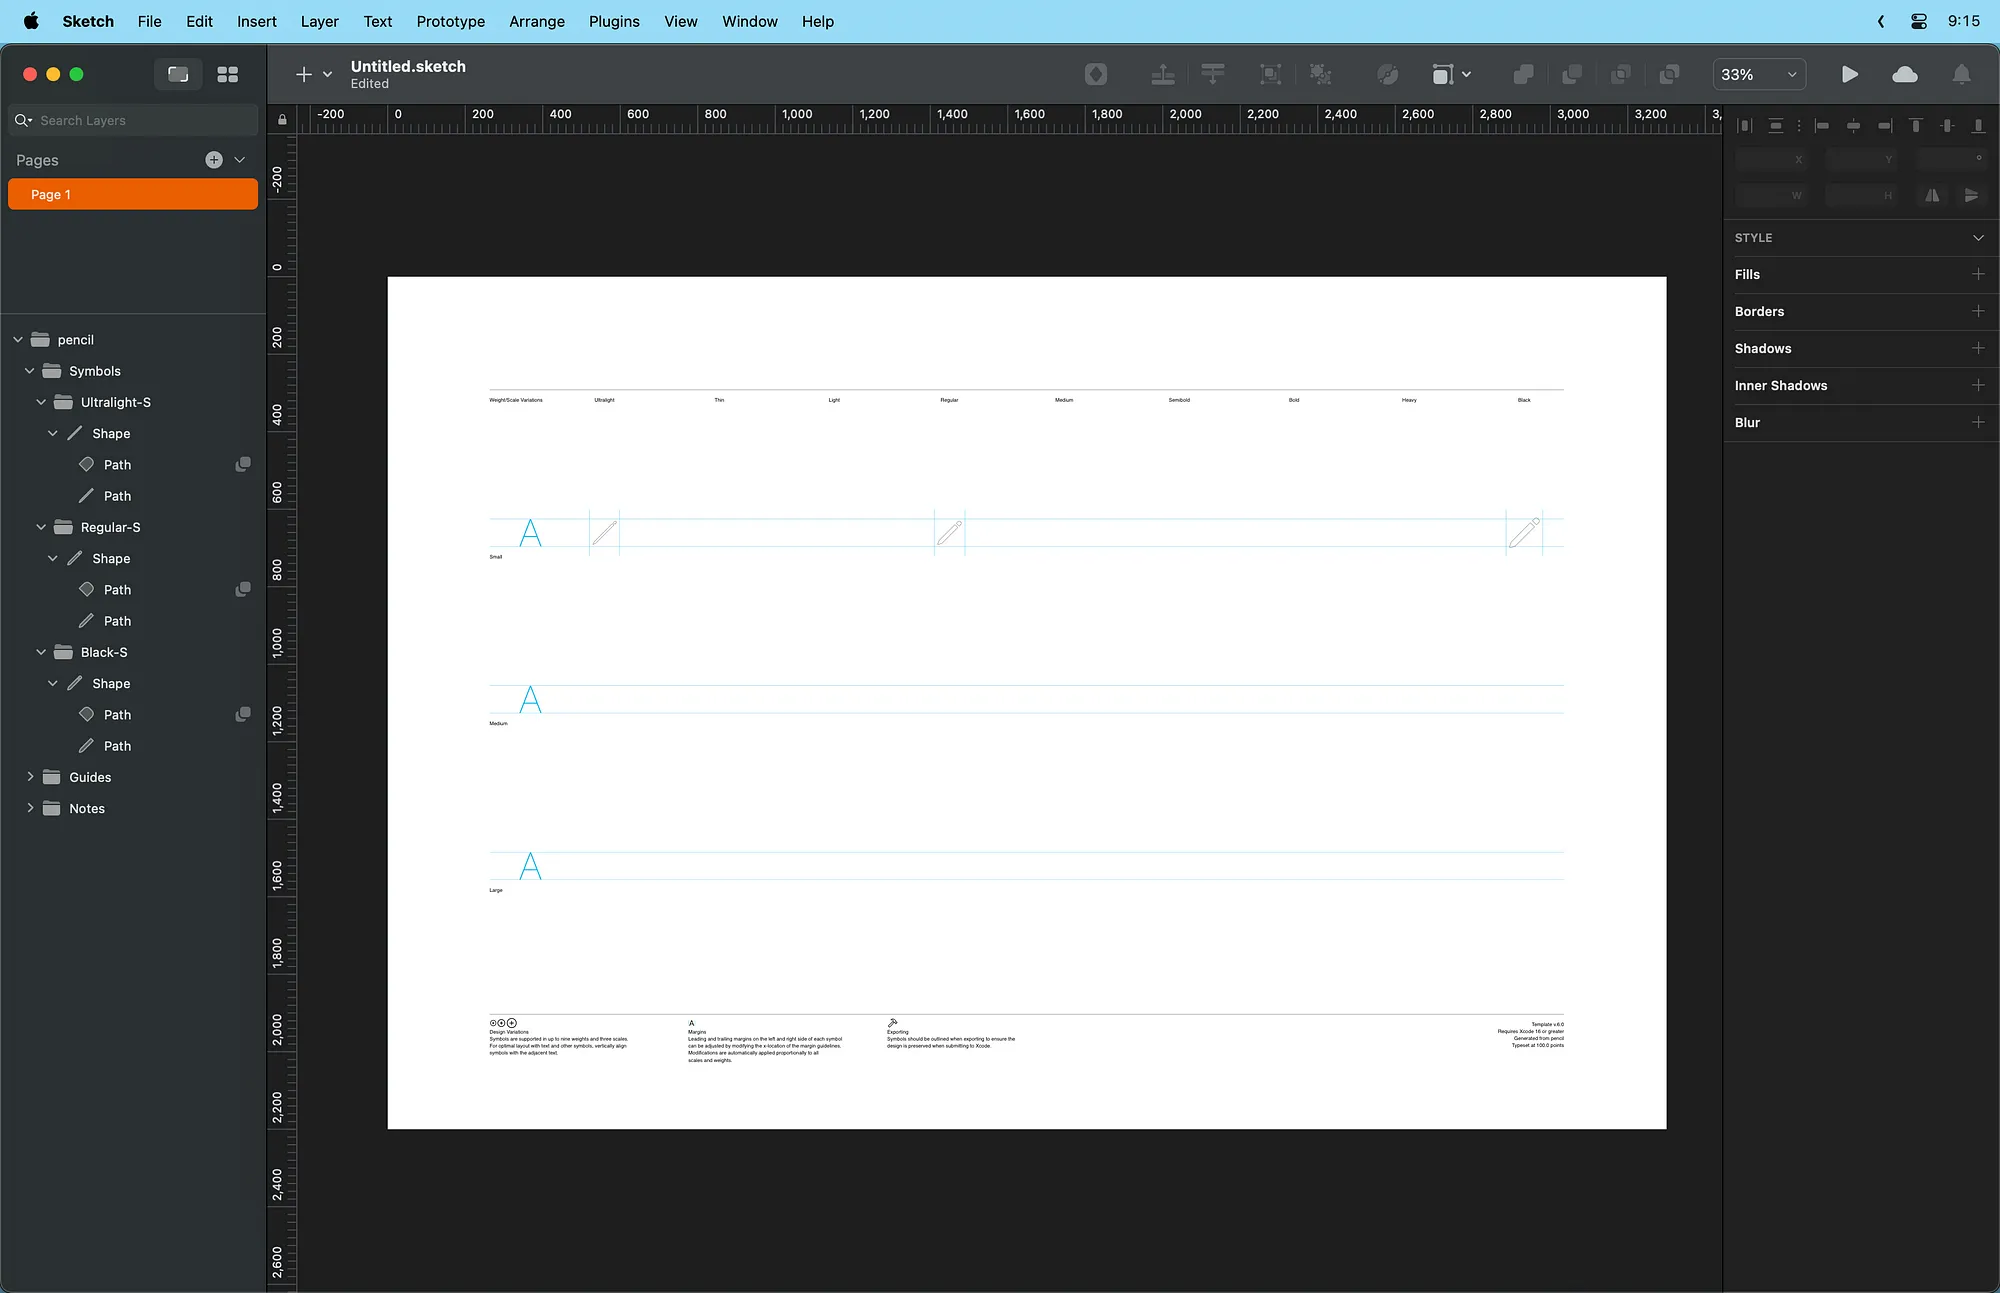
Here we see the template file with copies of the symbol for Ultralight-S, Regular-S, and Black-S font weights. Each copy contains a single shape with one or more paths. We can now edit the paths to produce our custom artwork.
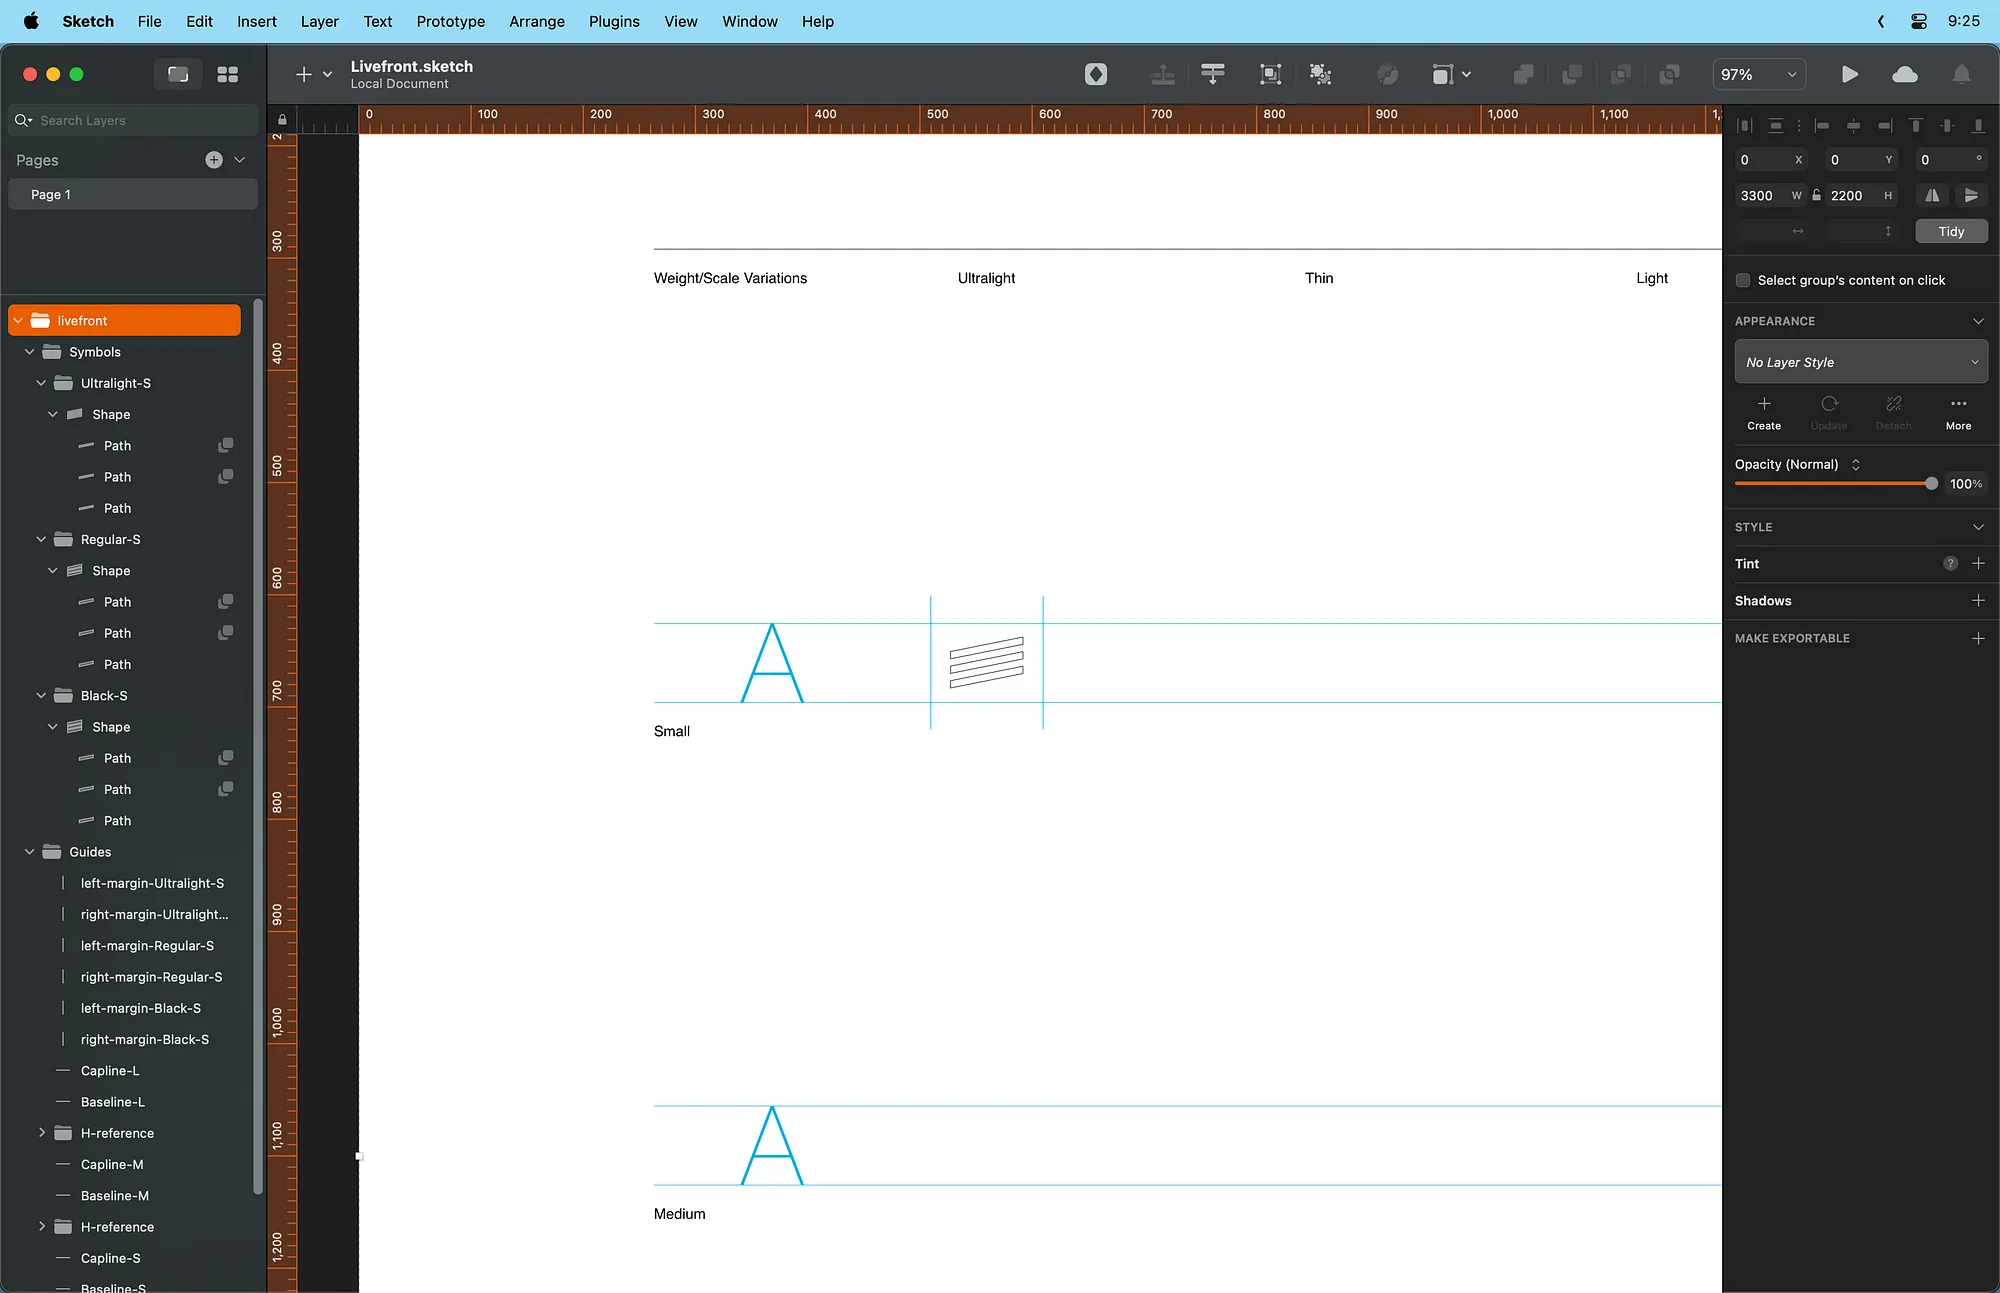
Here’s our final design for the ultralight font weight. We updated the shape and moved the horizontal layout guides to add appropriate padding to the left and right of our symbol. We’ve also made corresponding edits to the regular and black weight shapes.
Step 4: Import Into SF Symbols
Now we can bring our updated design back to the SF Symbols app.
In the menu bar, select File > Export. If given the choice, select Export Canvas.
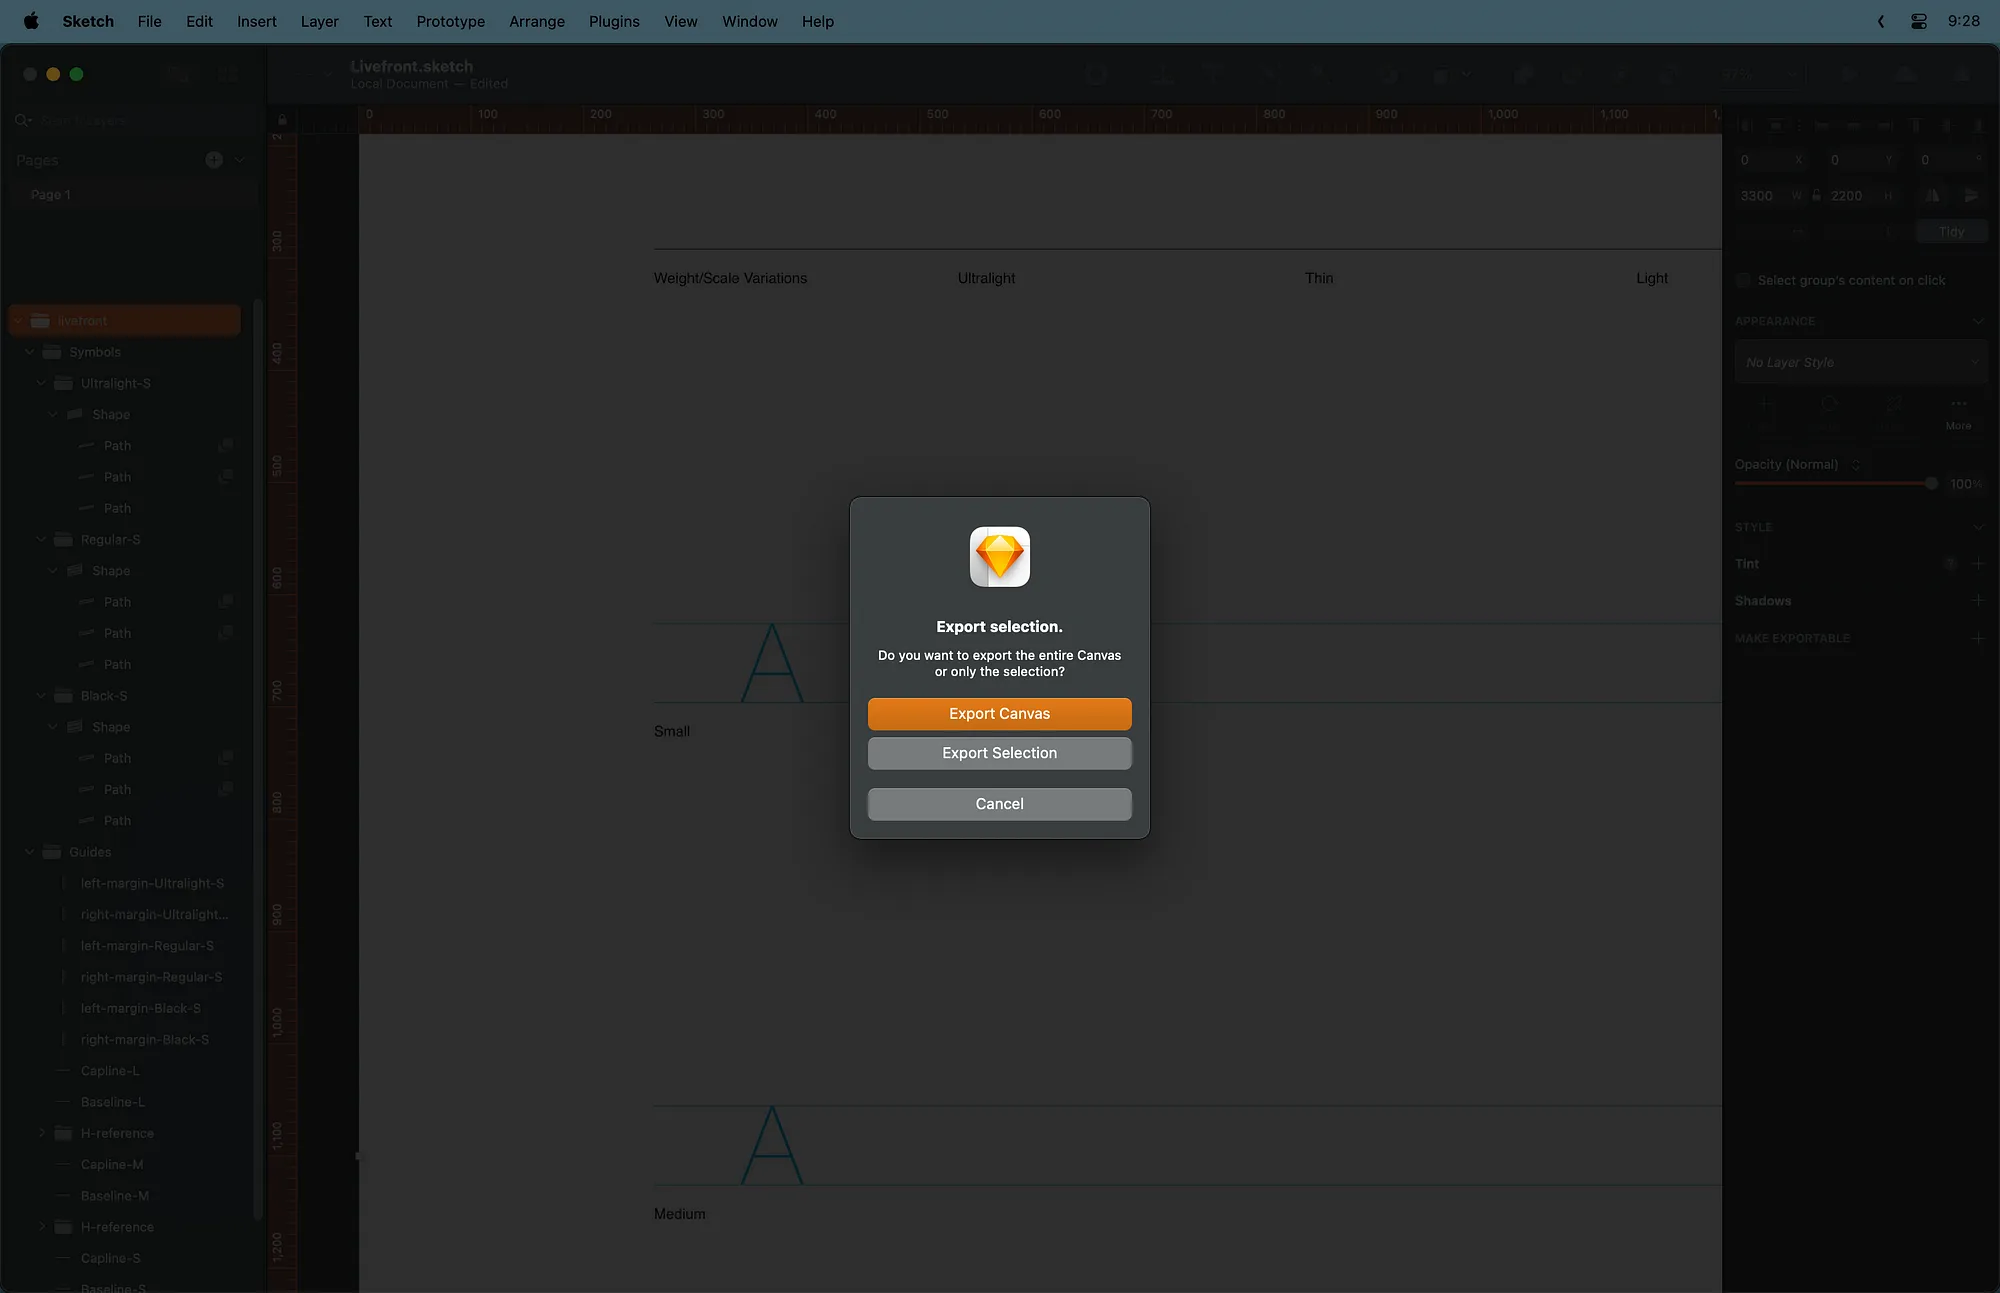
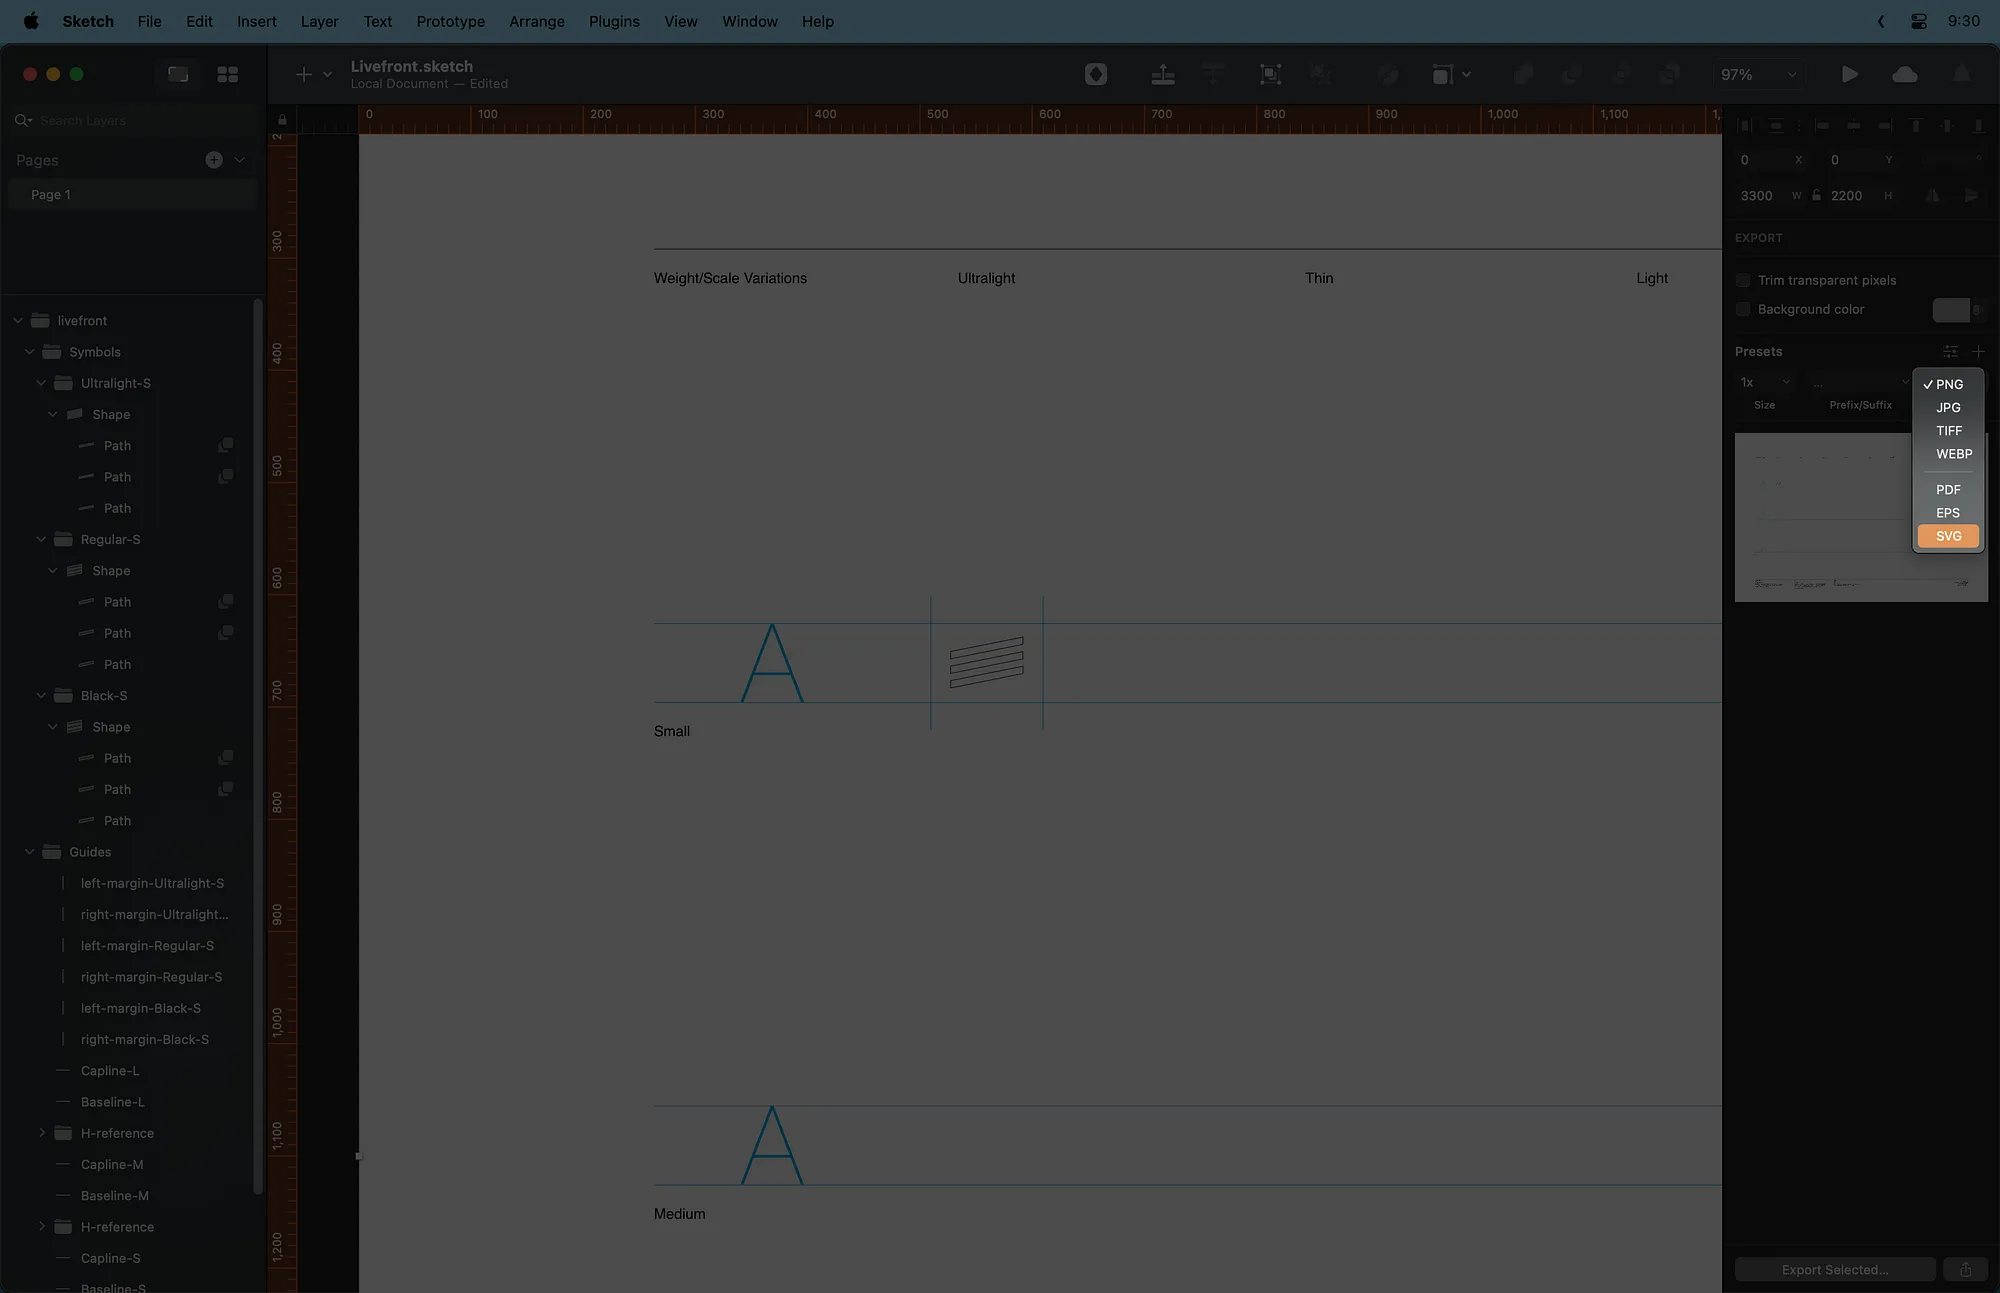
From the Format dropdown menu, choose SVG.
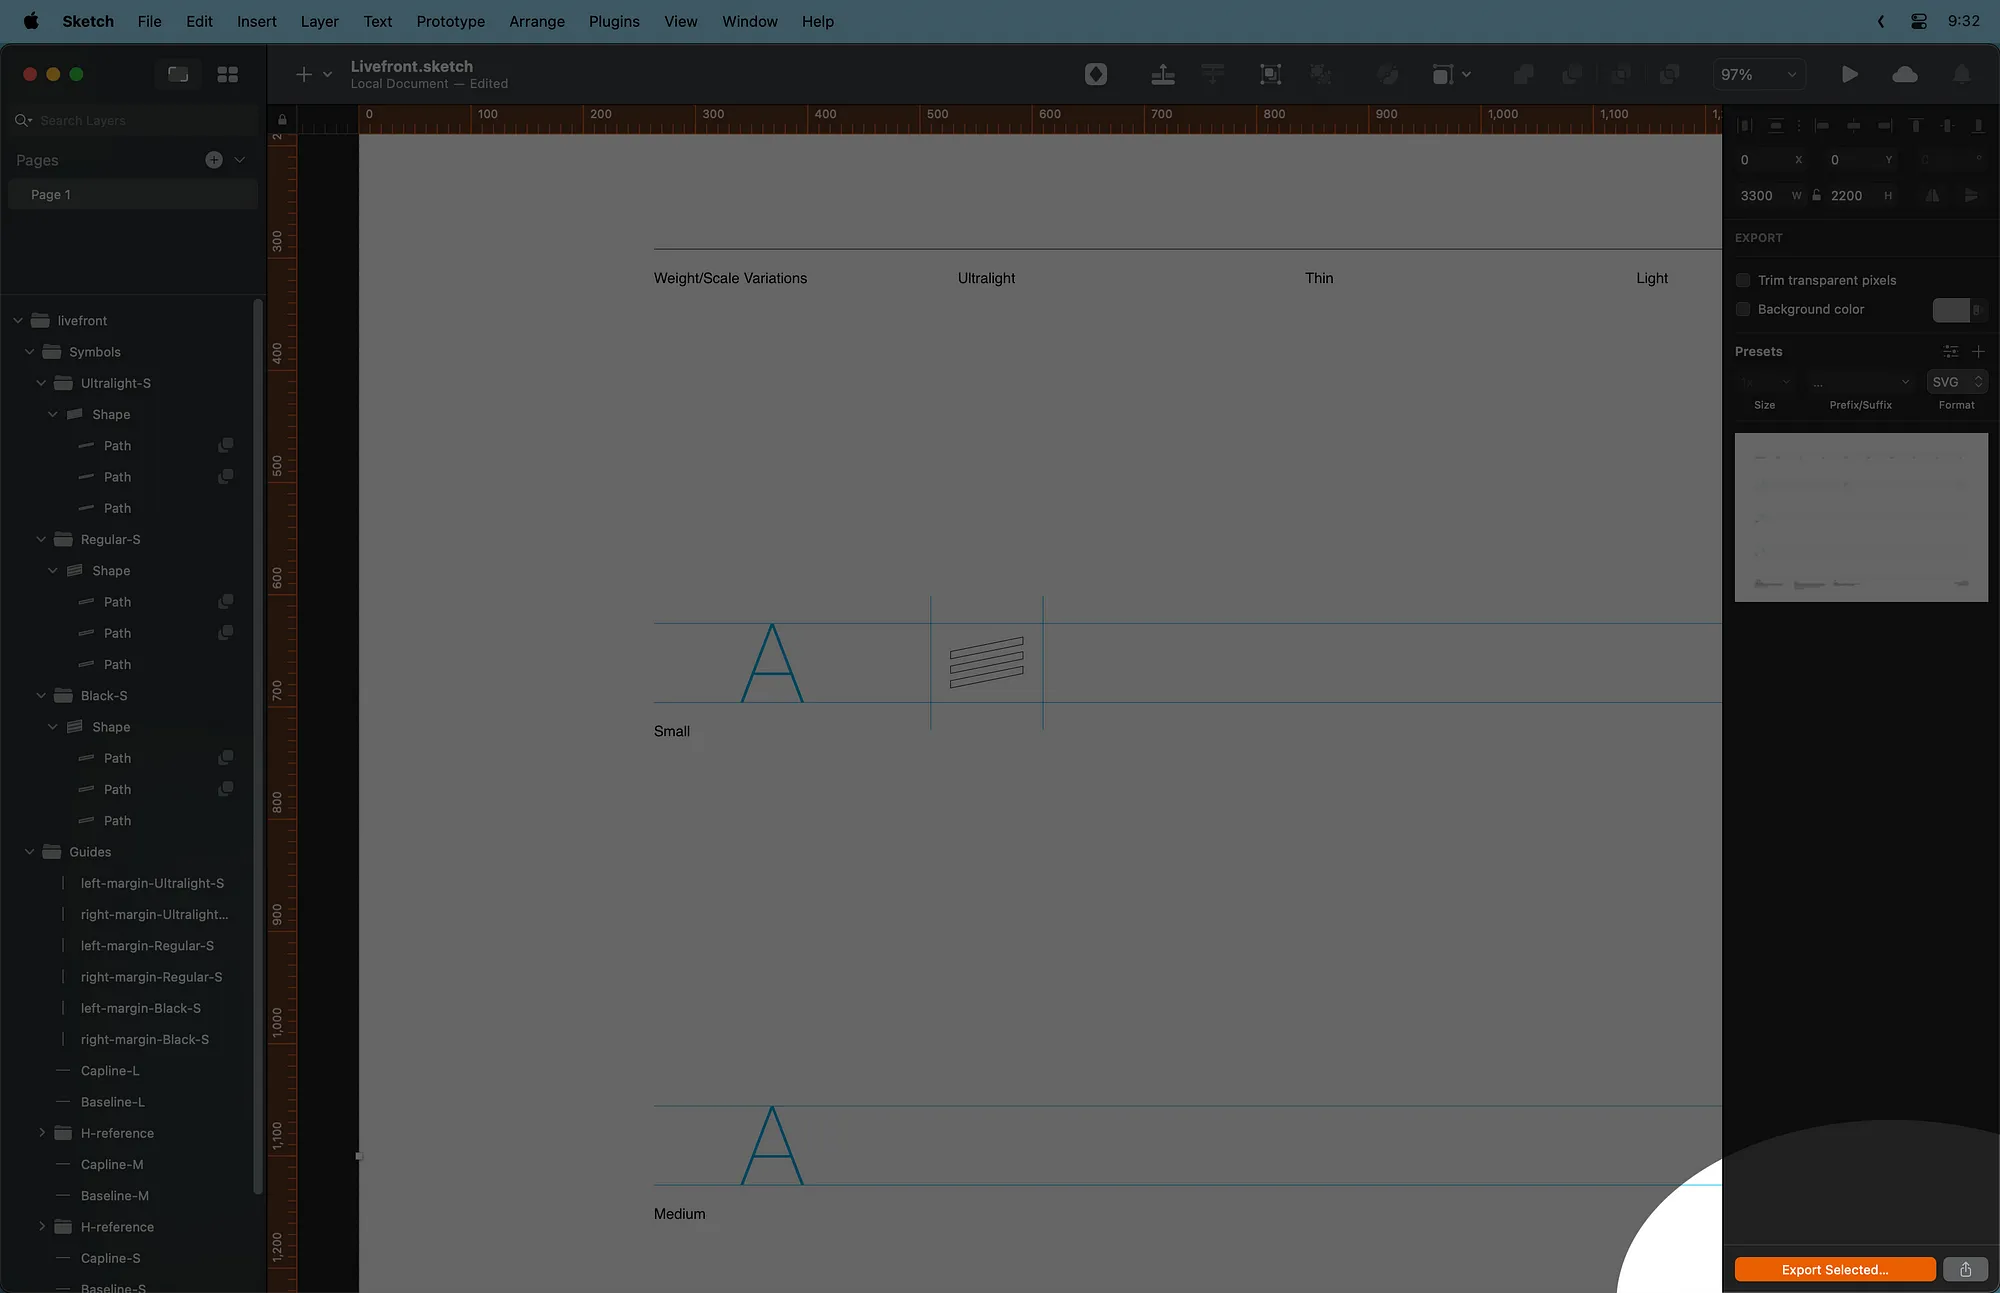
Then Export Selected… to save the modified SVG file.
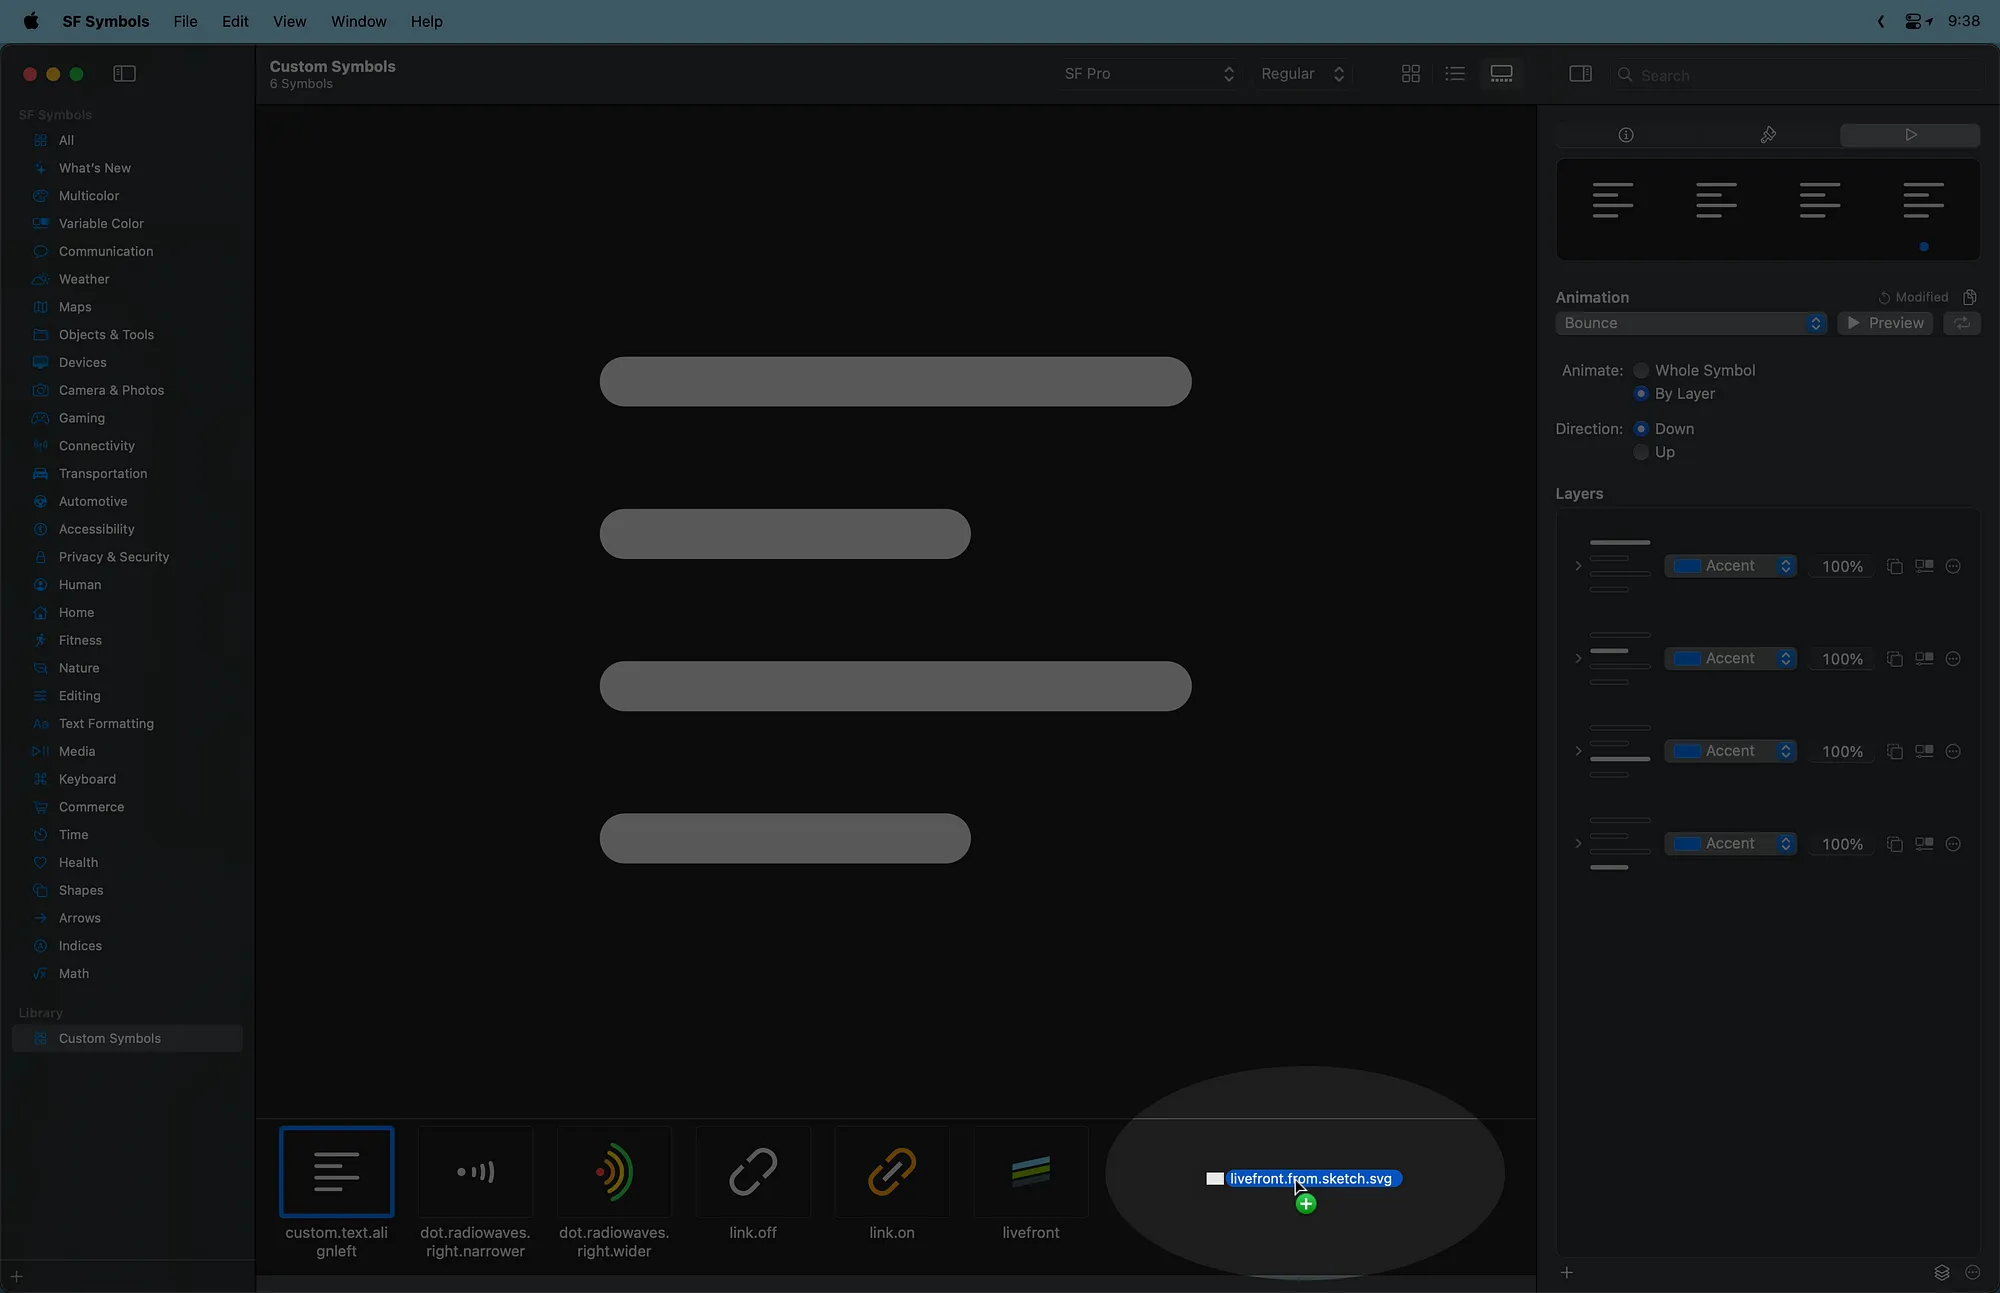
Back in the SF Symbols app, drag your saved file into the Custom Symbols library.
At this point, the app will check our file for errors. One common issue occurs when SF Symbols is unable to interpolate all the various weights and sizes of our custom symbol based on the artwork we’ve provided.
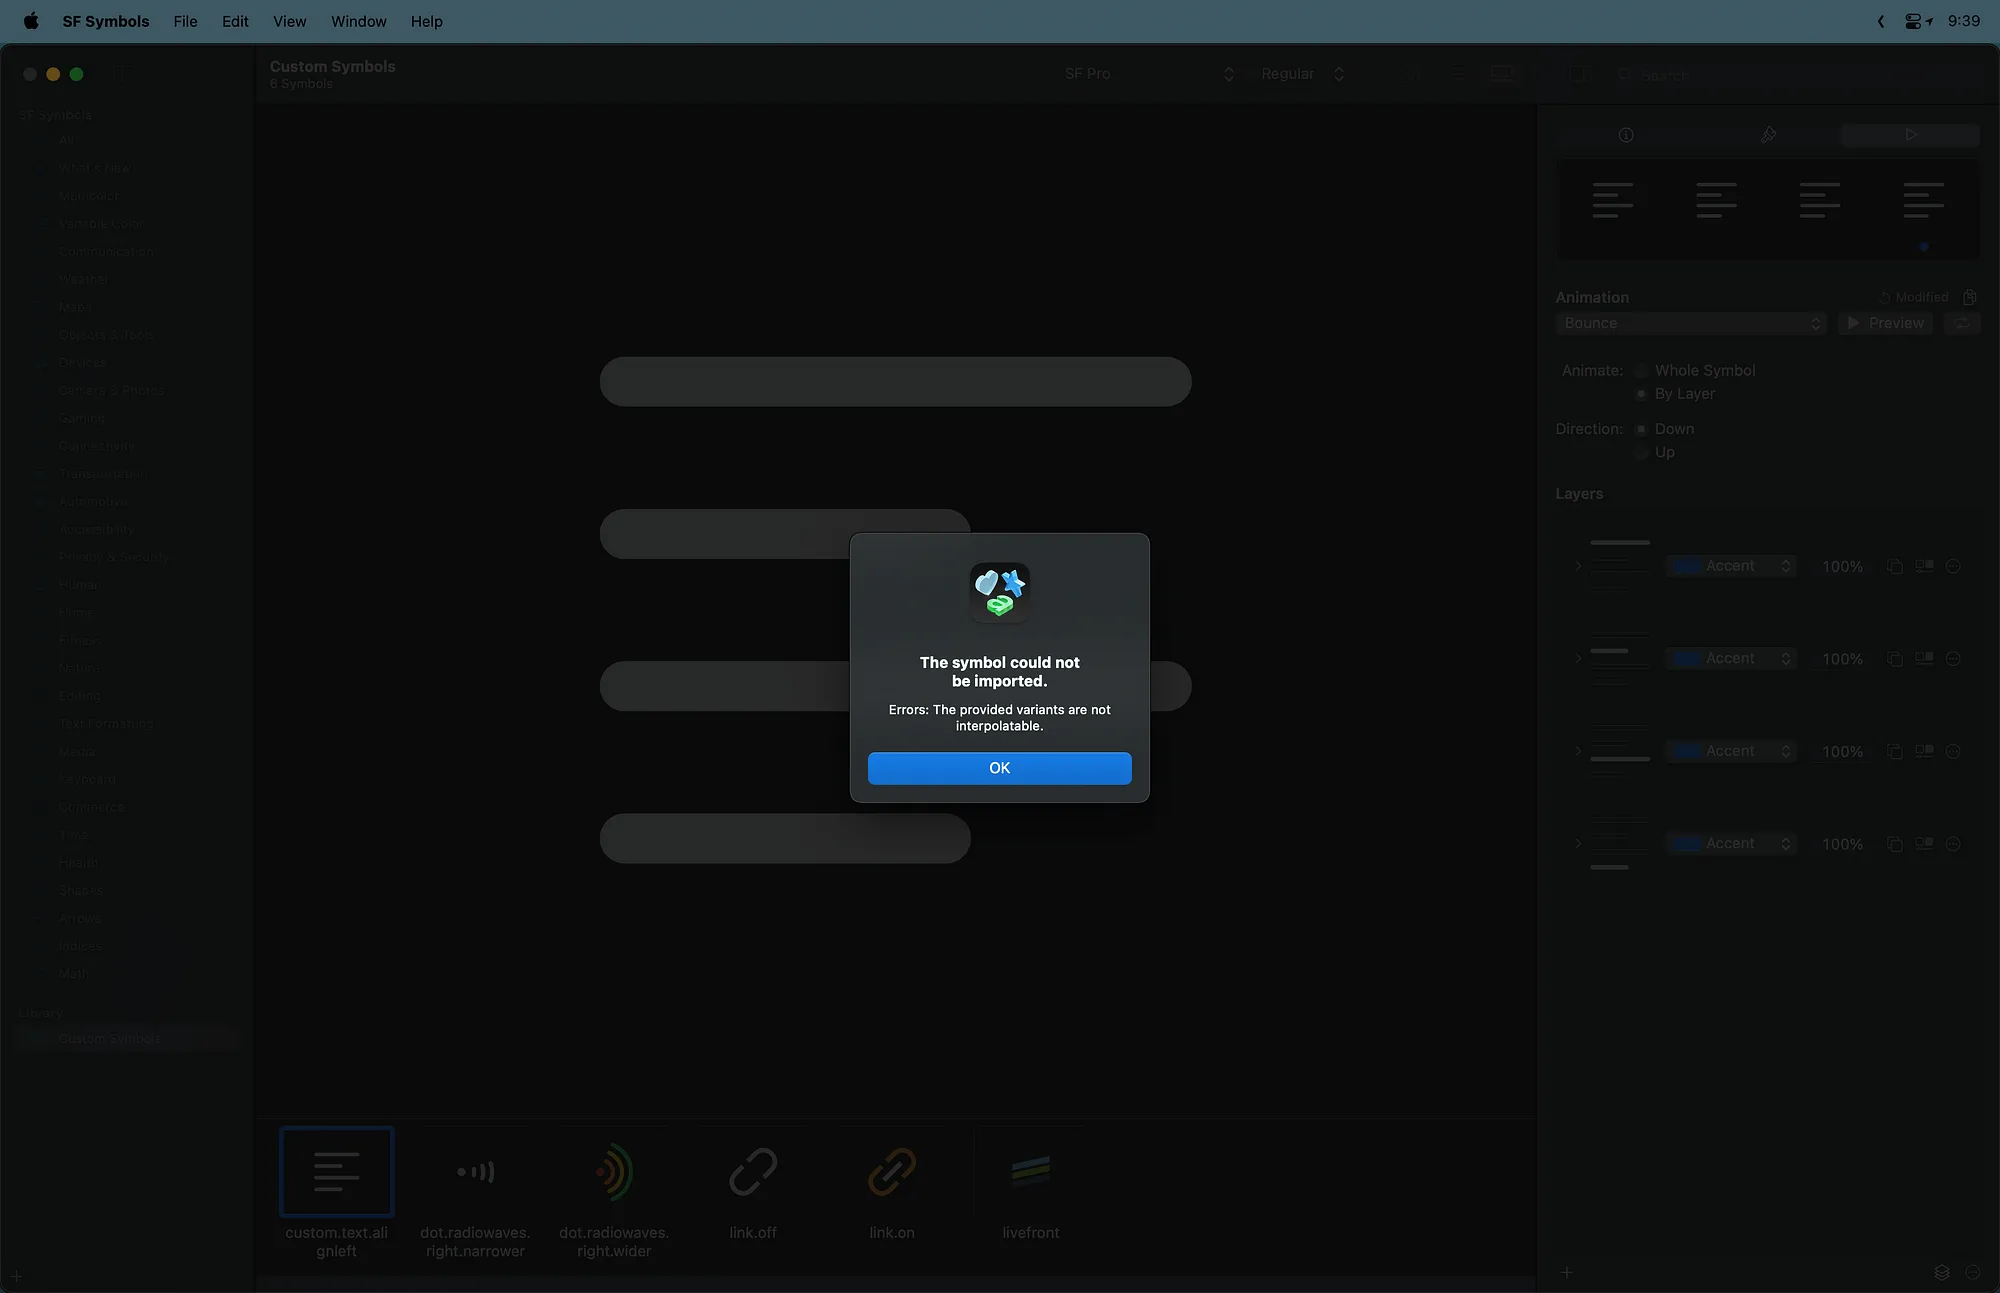
This points out a tricky requirement for SF Symbols. To generate the remaining sizes, the three versions of our artwork must be nearly identical. Each weight of our shape should have the same number of paths. Each path should have the same number of control points. Even the ordering and type of each control point should match the corresponding point in each weight of our symbol. It can take time and several round trips between Sketch and SF Symbols to spot and fix the differences.
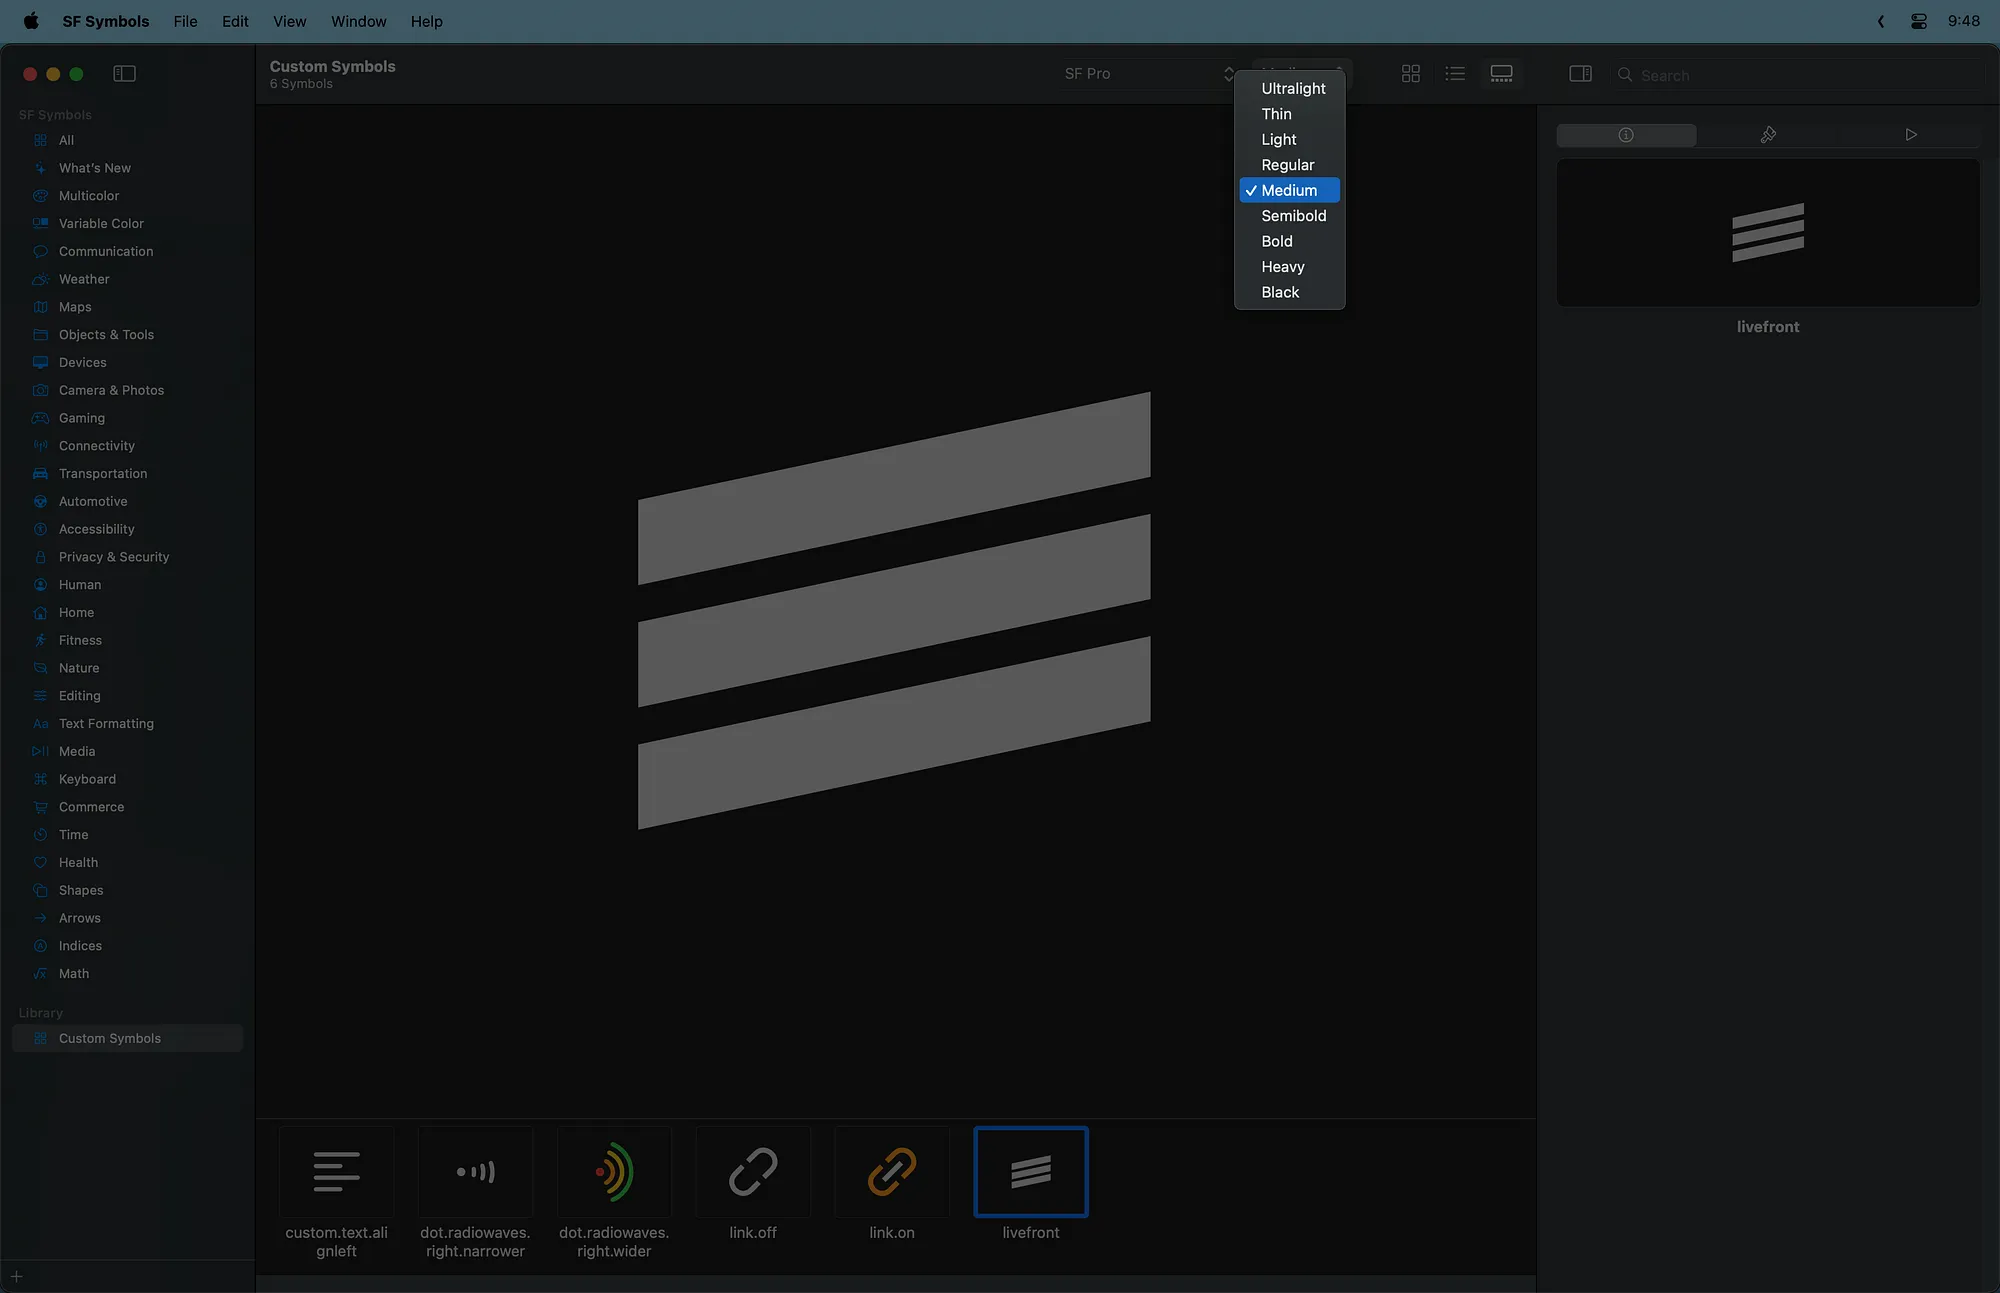
Once the file is successfully imported into SF Symbols, check the various generated font weights to be sure that the interpolation is happening the way you expect.
Step 5: Configure Your Symbol
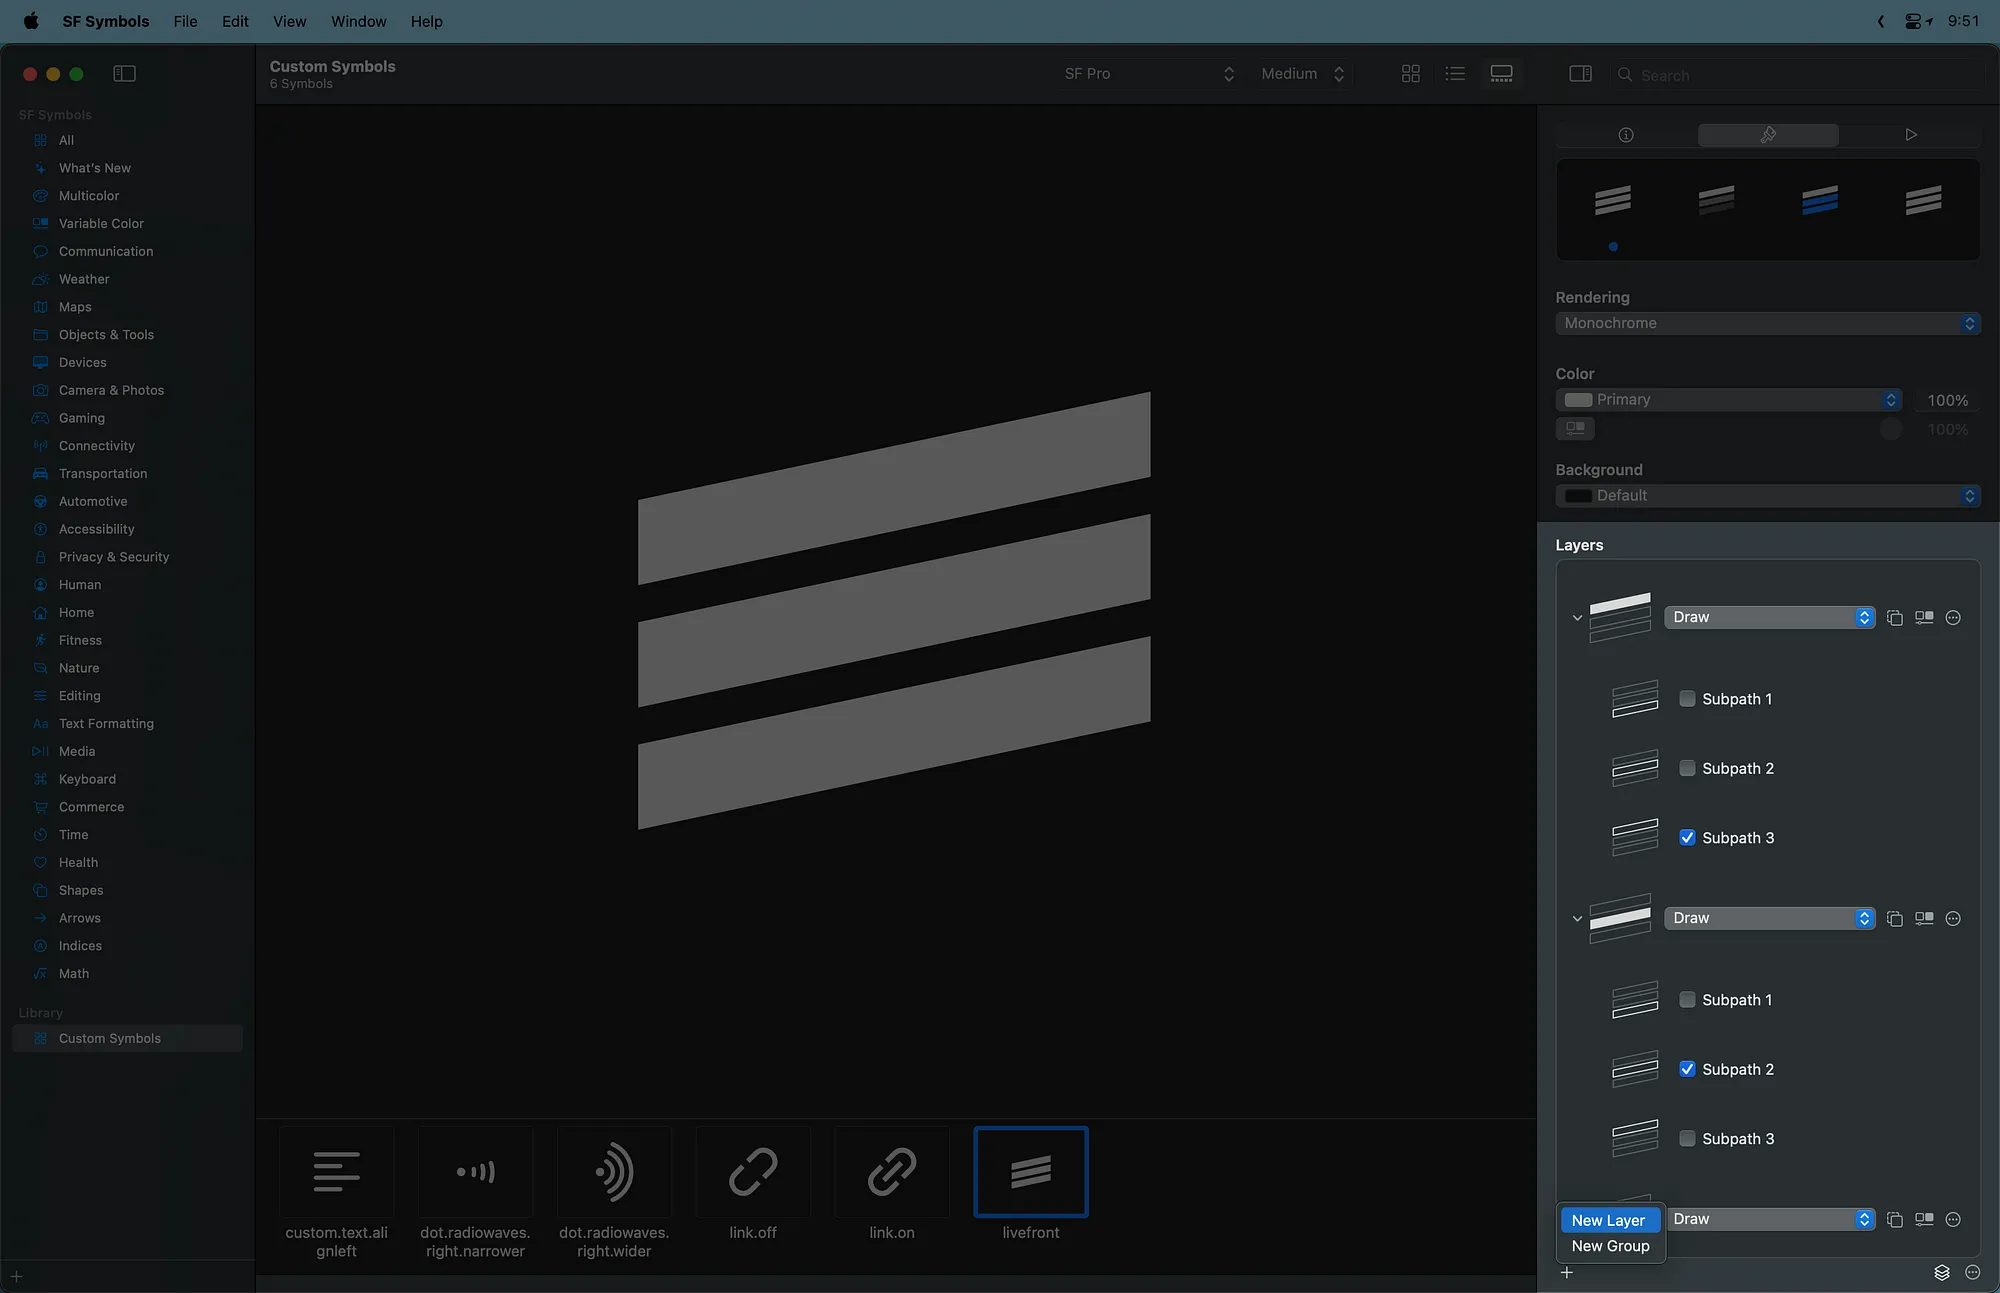
Within SF Symbols, we have many options for configuring our custom symbols. A good place to start is to define layers for the paths of your shape. A layer is a collection of subpaths that can be drawn, colored, or animated separately from other subpaths.
Select View > Inspectors > Rendering Inspector from the menu bar.
In the Rendering Inspector, use the add button to add layers. Then expand the layers and choose which subpaths will belong to each one.
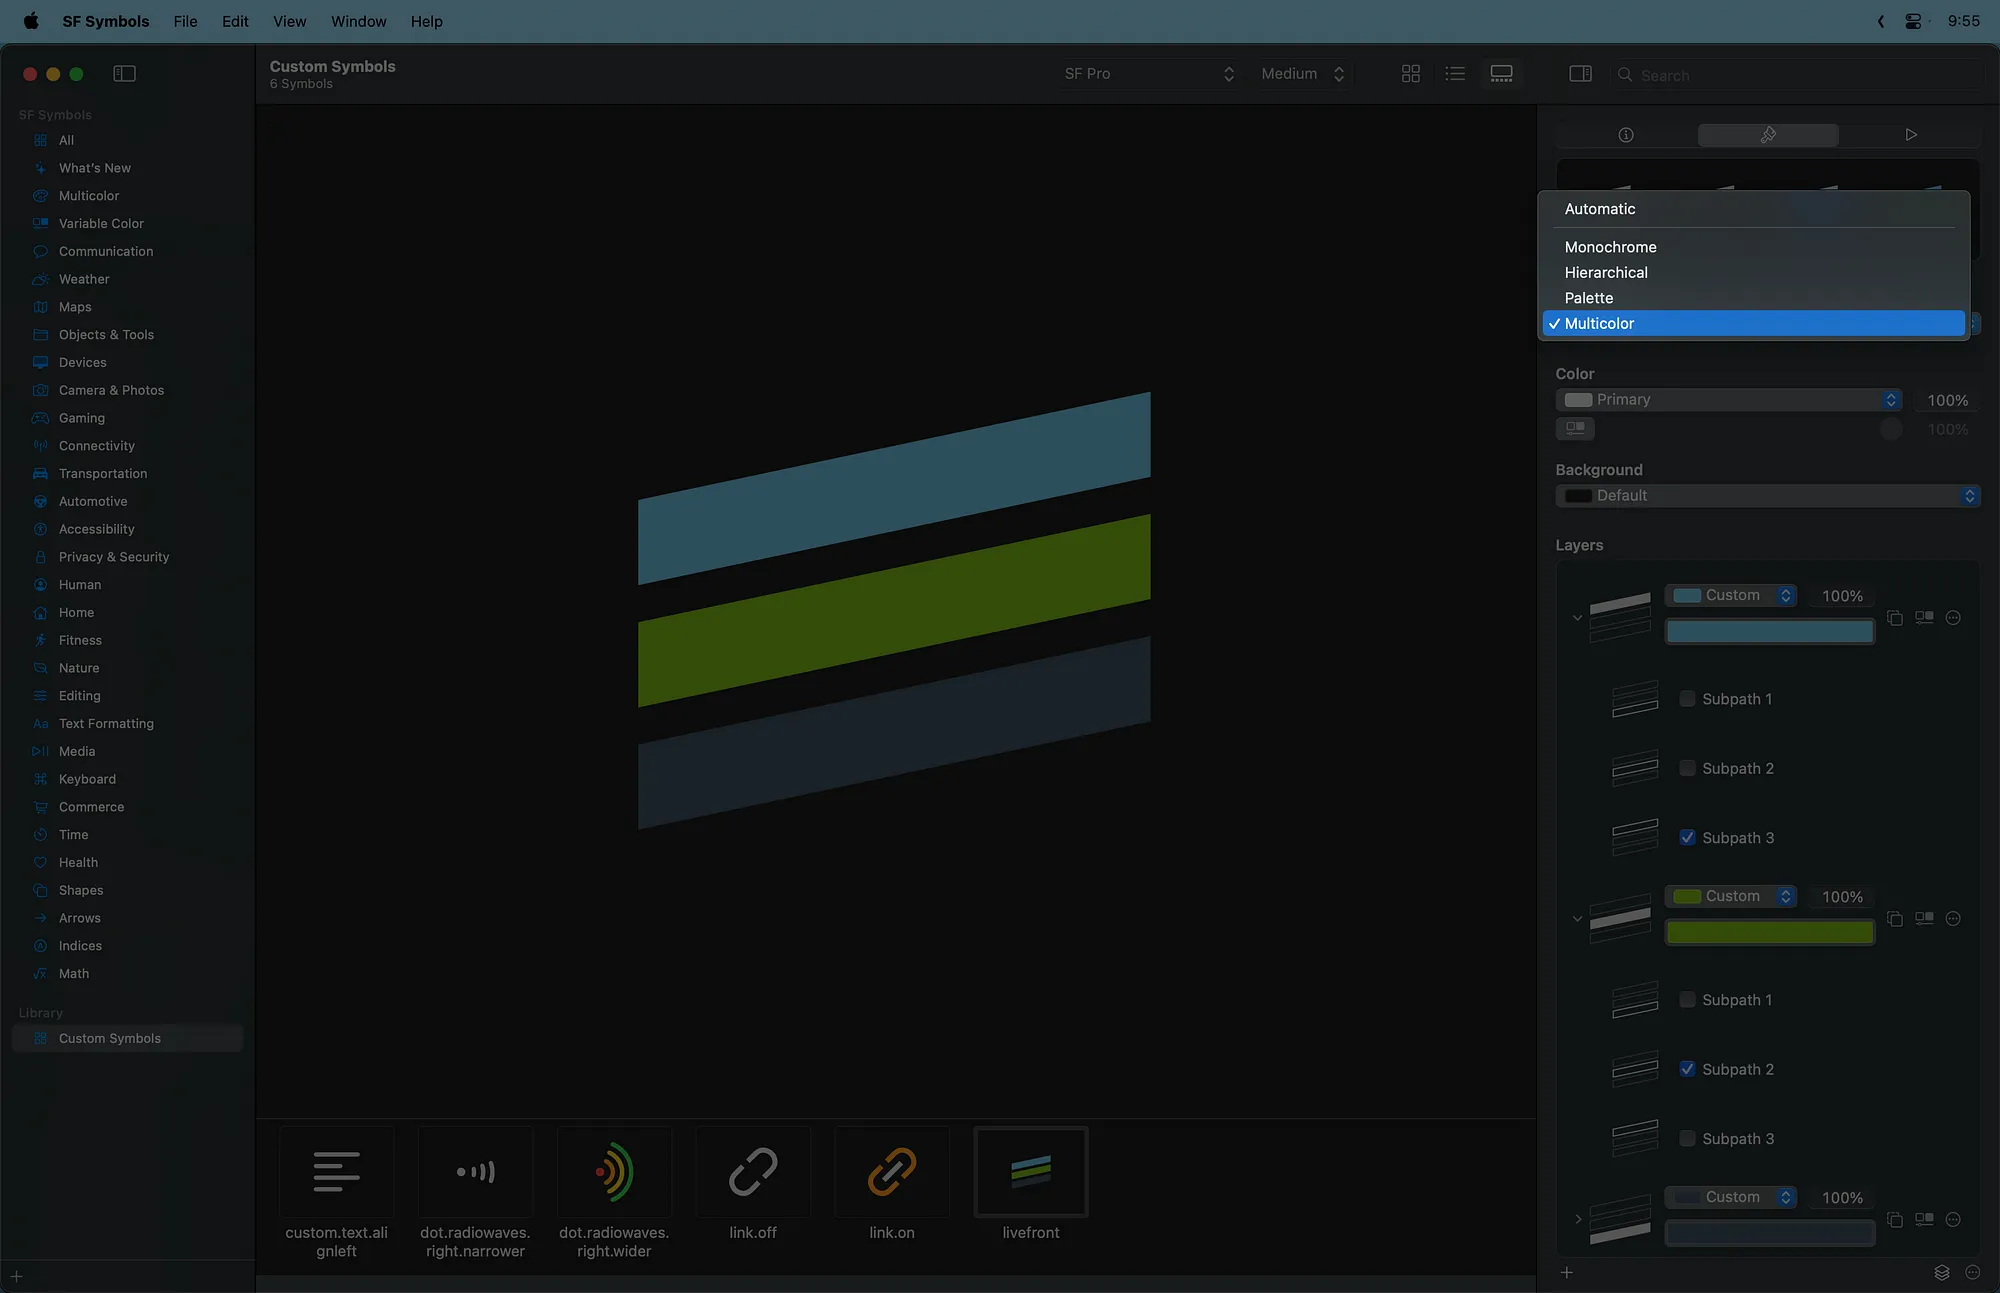
Use the Rendering drop-down menu to preview and choose default colors for your layers in each of the four rendering modes.
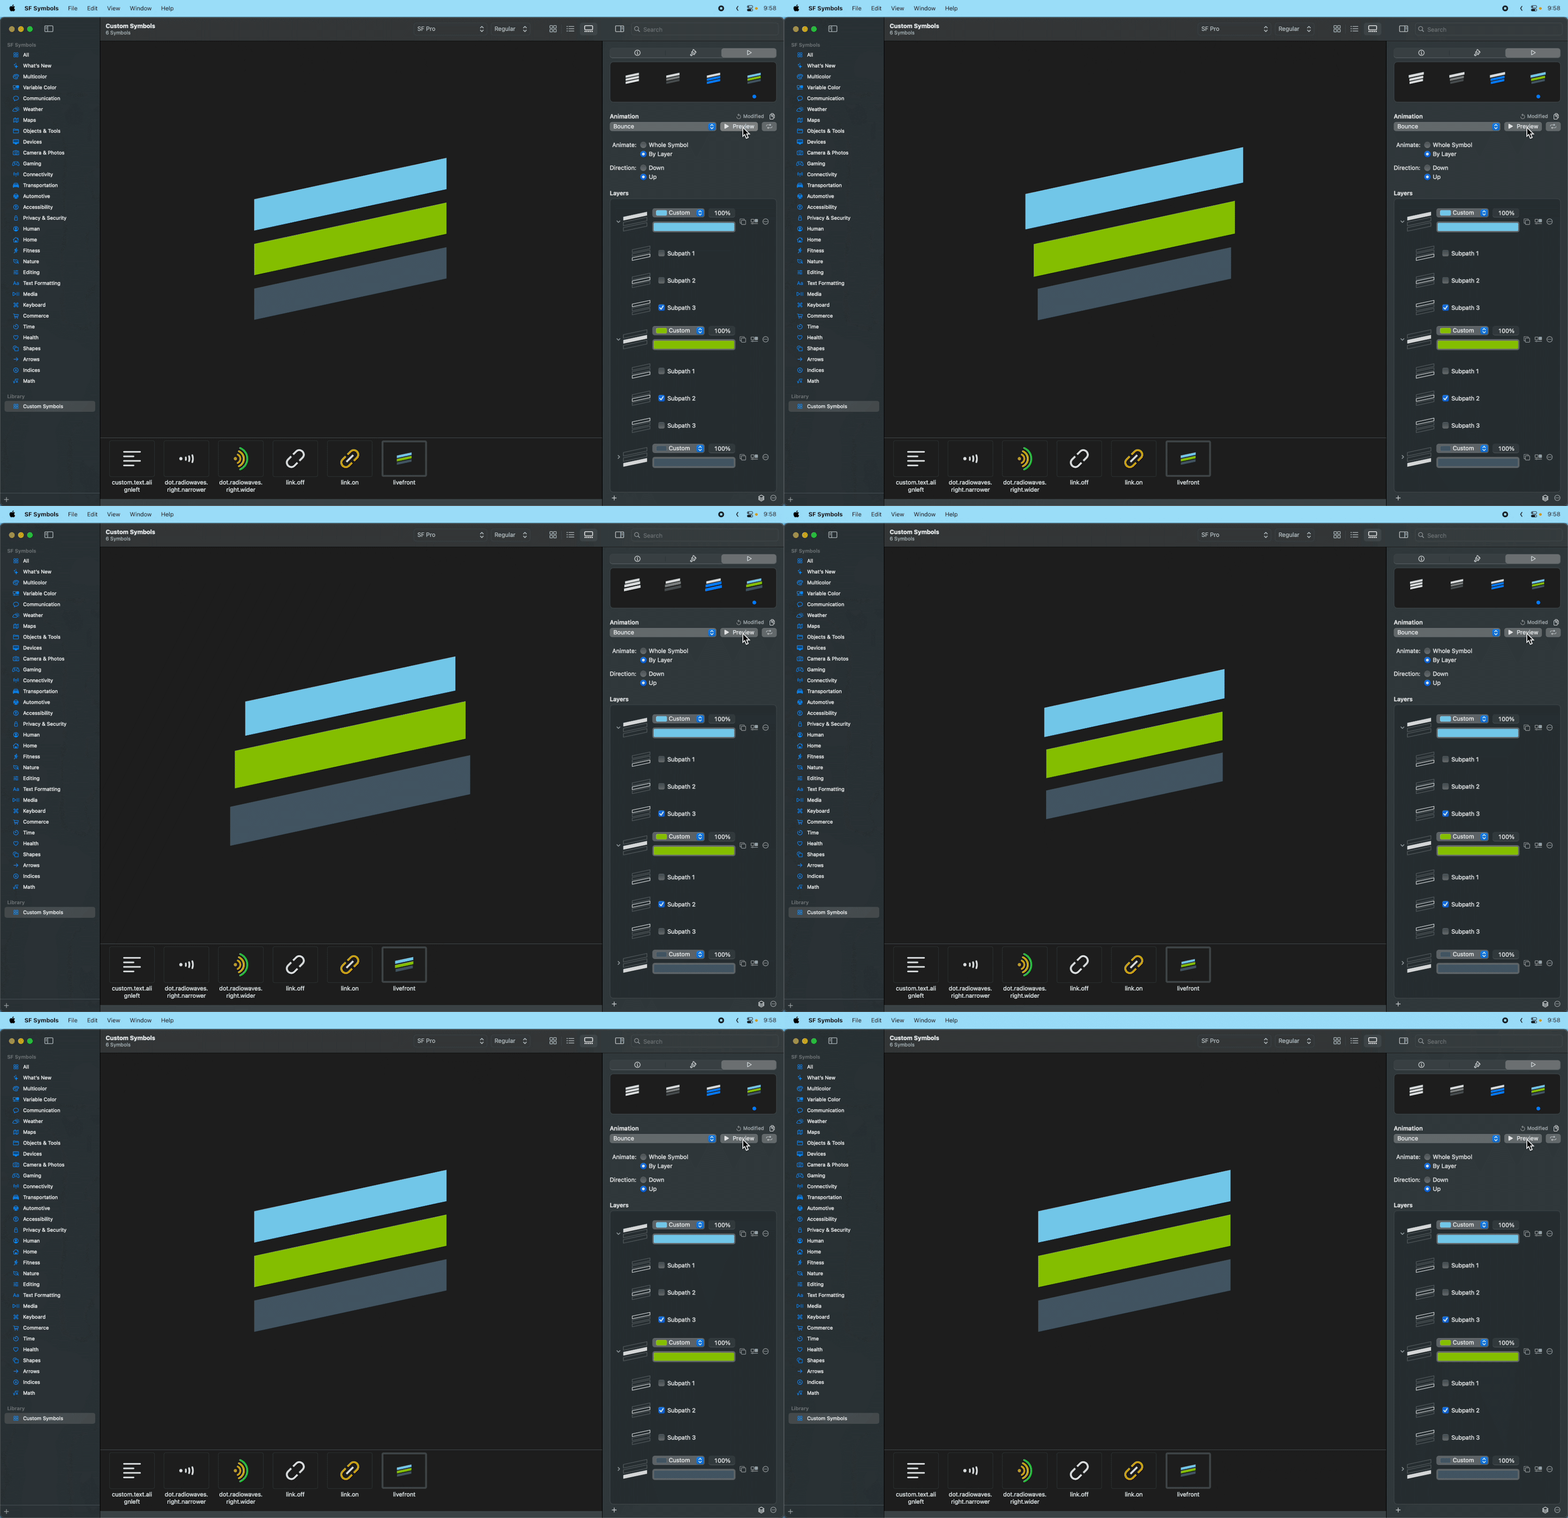
Finally, open the Animation Inspector under View > Inspectors > Animation Inspector to preview your symbol with each available animation effect. The settings here are for demonstration purposes only. Your symbol’s actual animations will be determined by the code in your app.
Step 6: Bring Your Symbol to Xcode
When you’re happy with your settings, it’s time to bring your custom symbol into your Xcode project.
Select the symbol and go to File > Export Symbol.
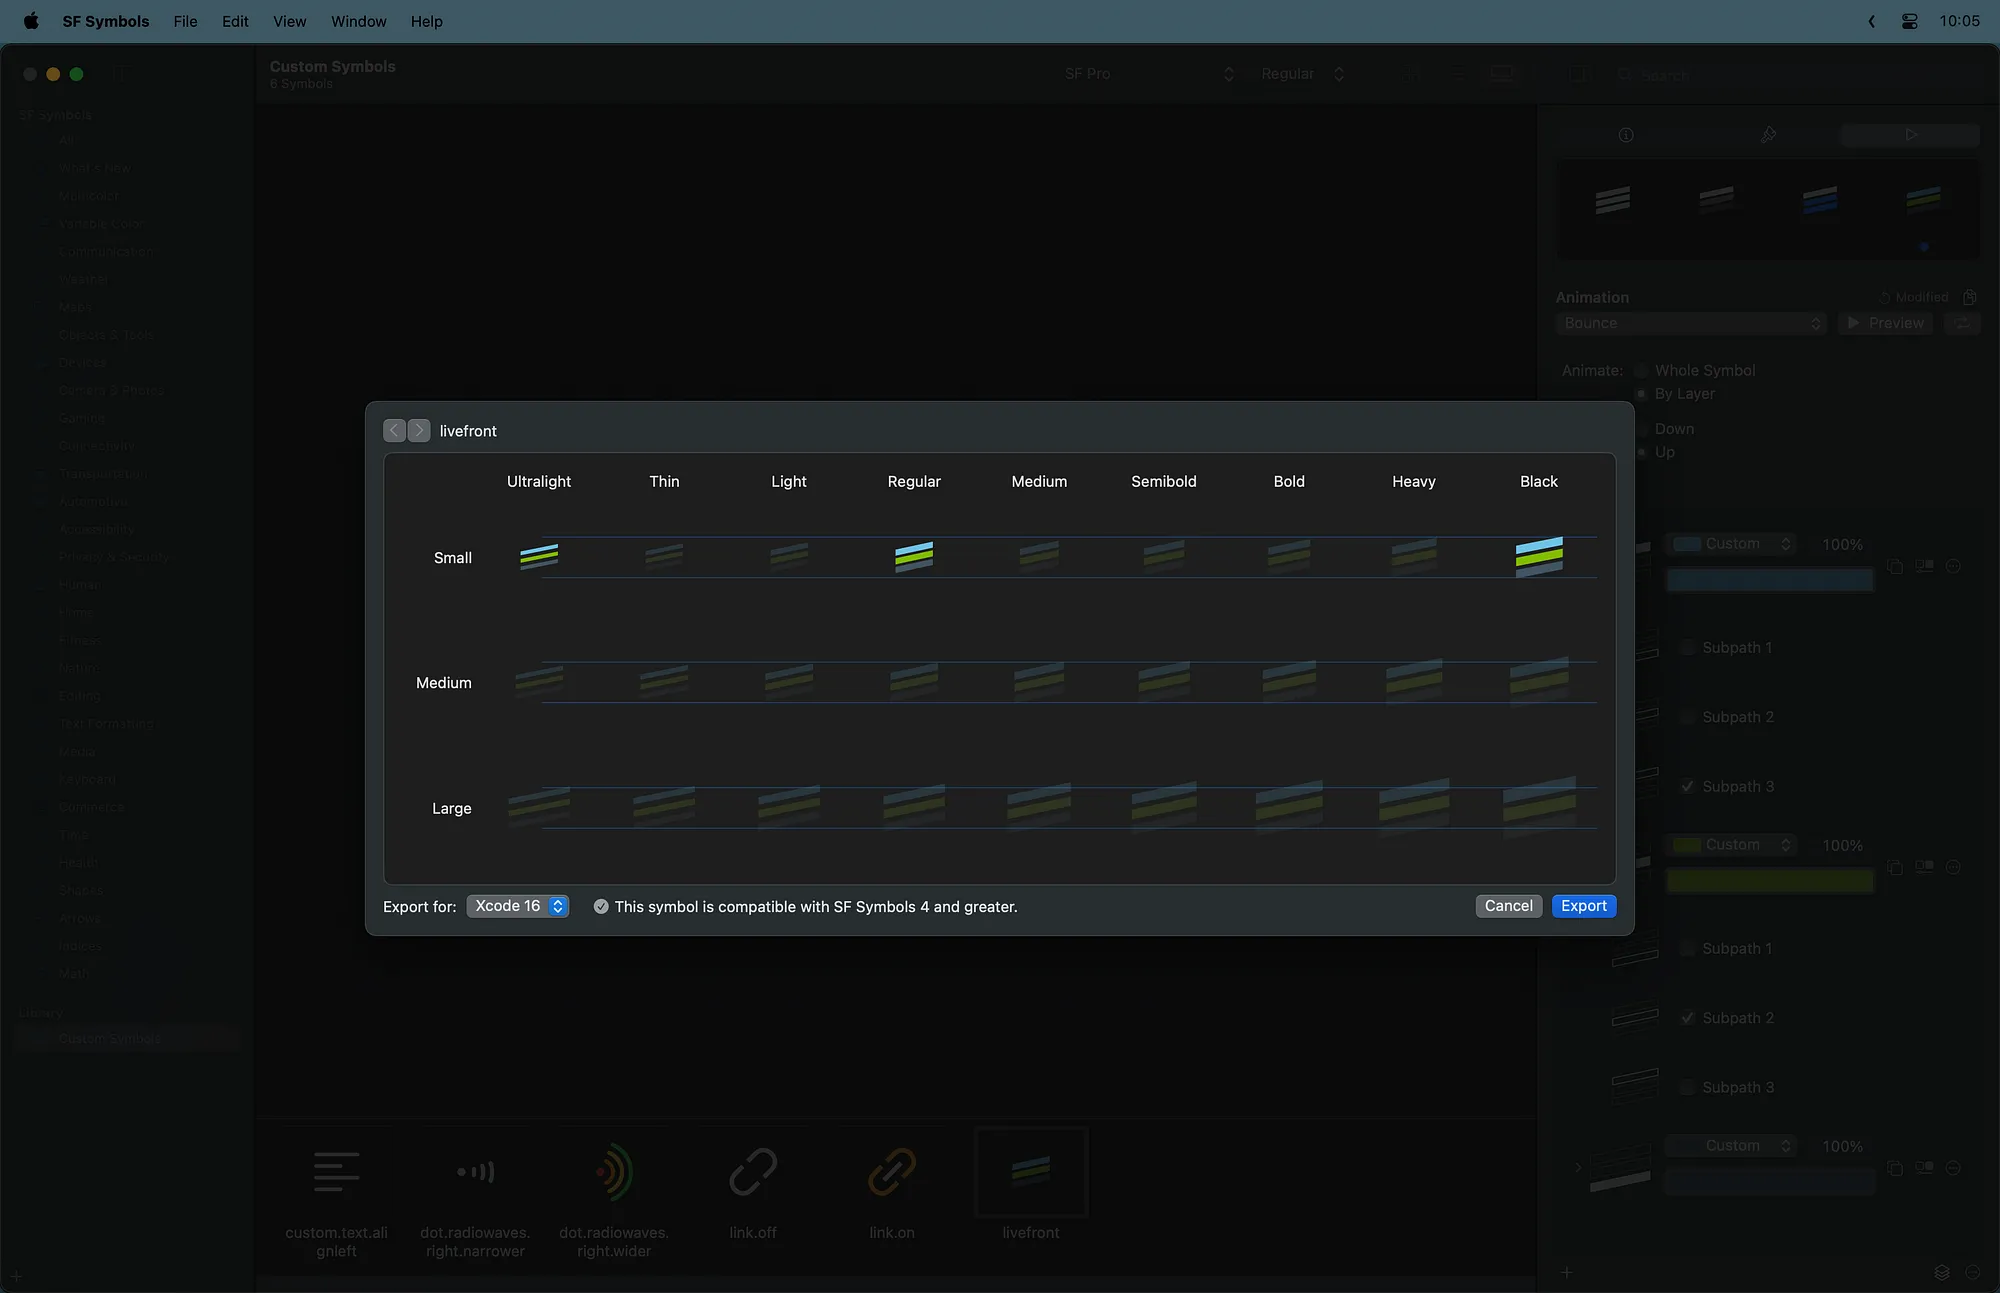
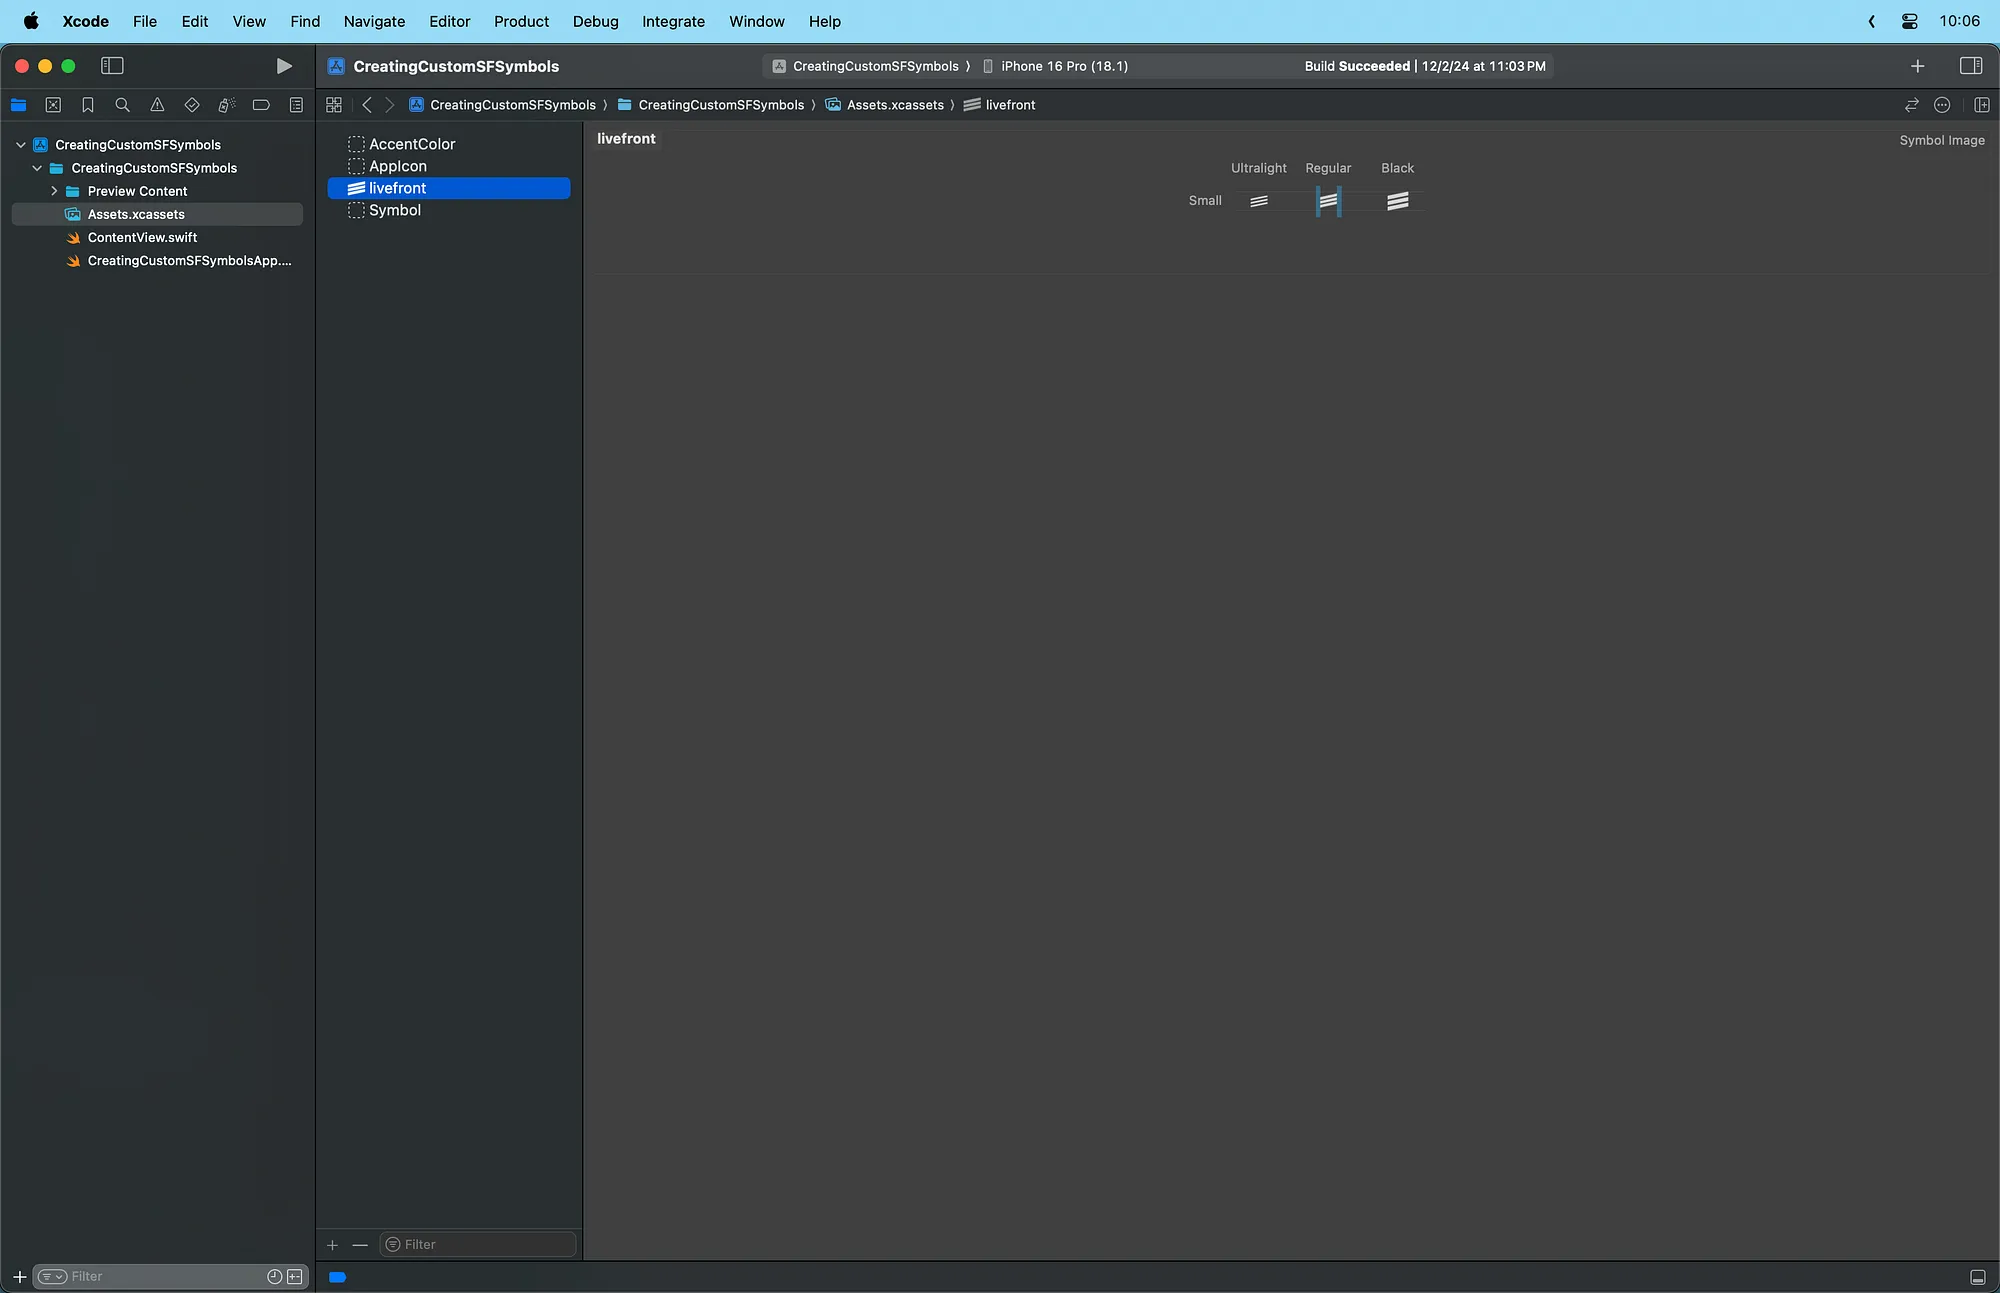
In Xcode, find your app’s asset catalog and drag in your final symbol SVG file to create a new Symbol Image Set.
You can now use your symbol in all the locations that support SF Symbols including images, control labels, and inline text.
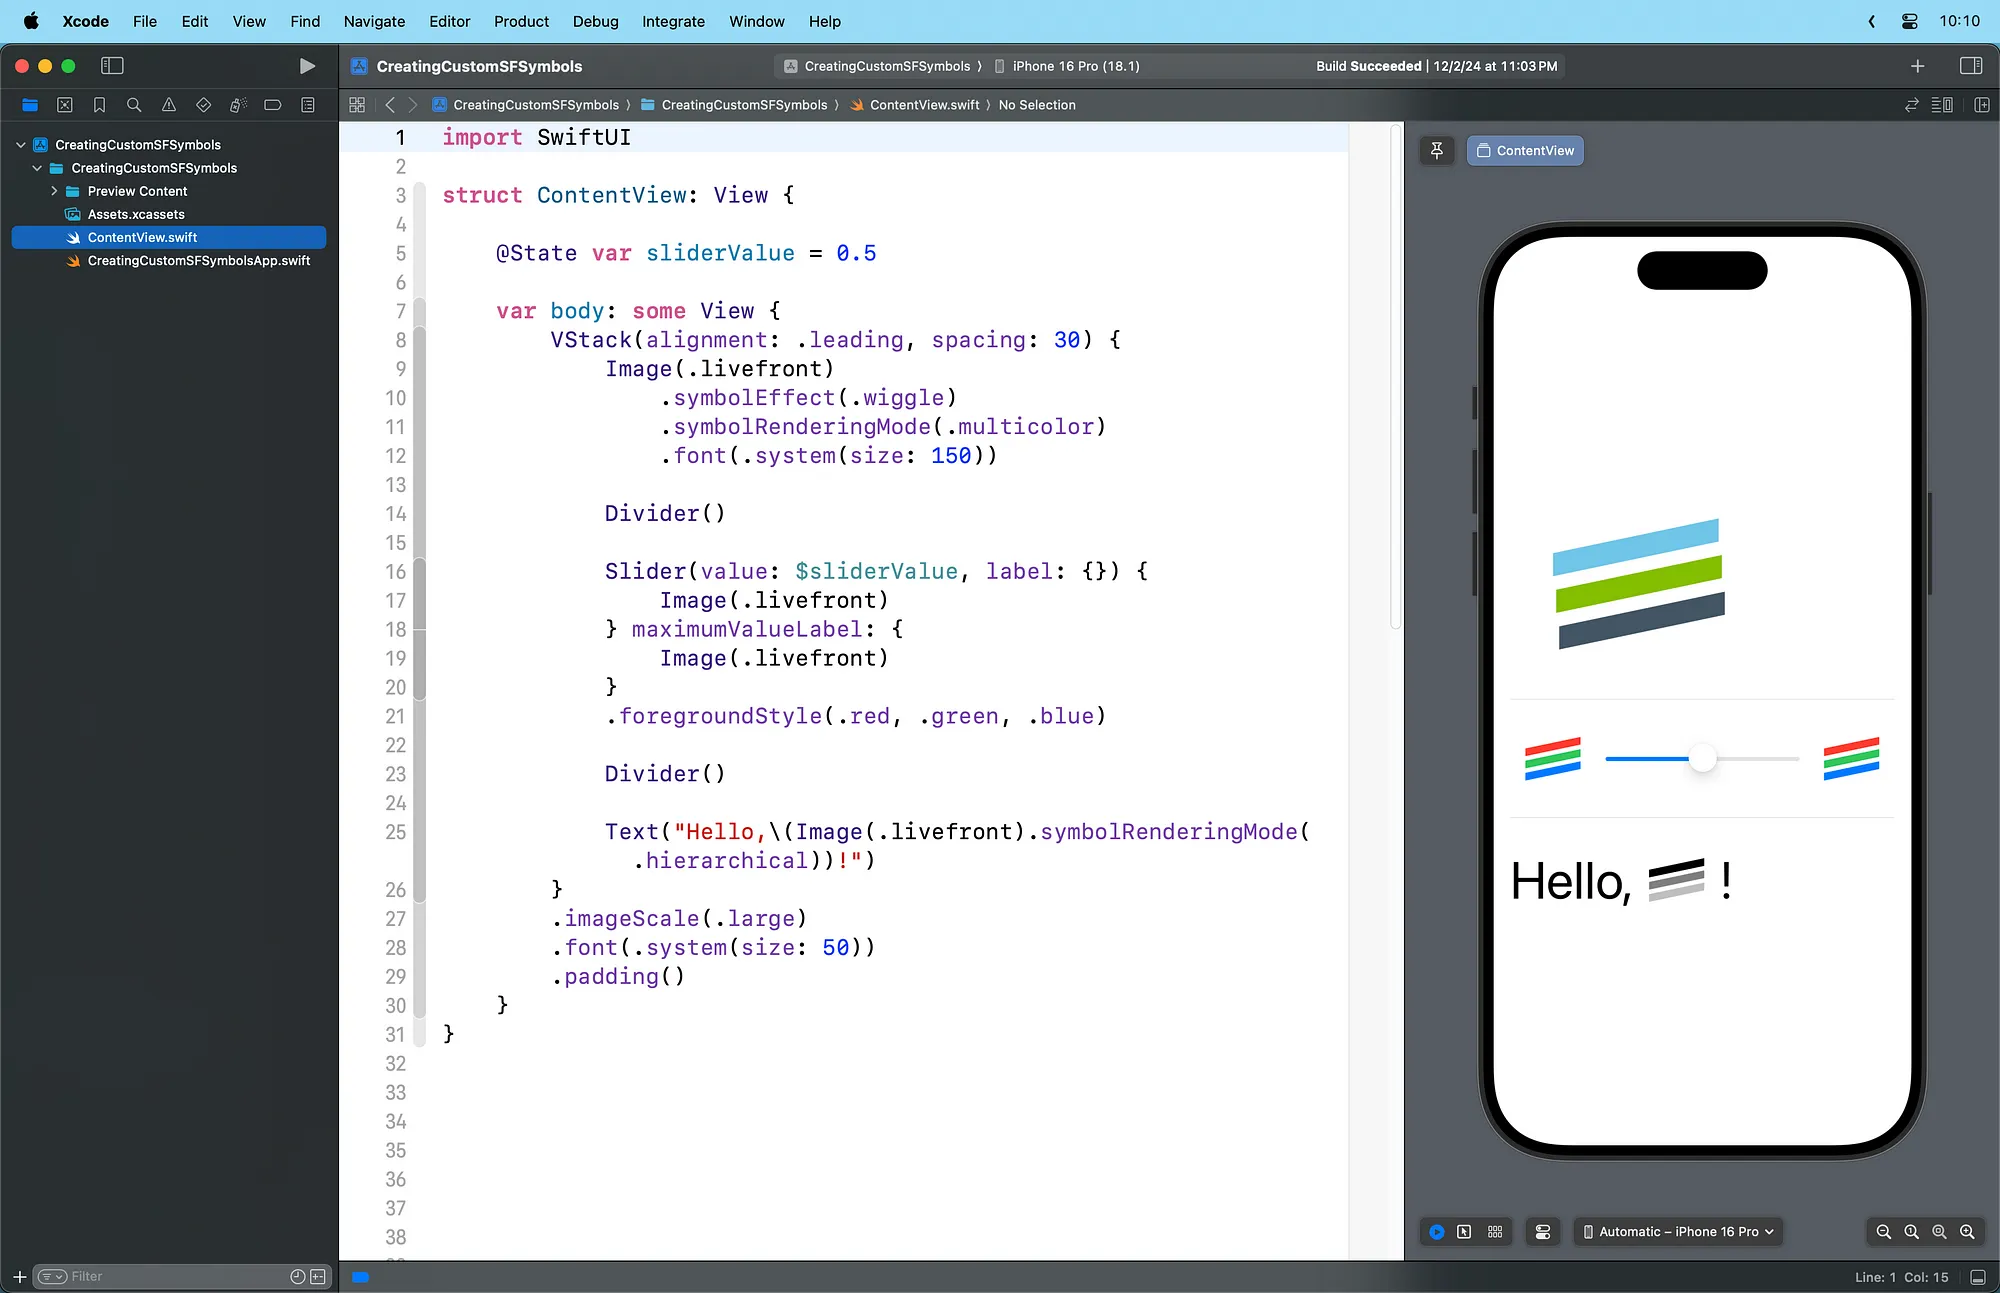
Creating custom SF Symbols unlocks new opportunities to integrate unique, branded artwork into your app. Experiment with different designs, layer styles, and animations to craft symbols that make your interface stand out.
Thanks for reading!
Updated for Xcode 16.1 and SF Symbols 6.
